DIY Art Project to Ease Your Anxiety [Step-By-Step Painting Tutorial]
April 27, 2023
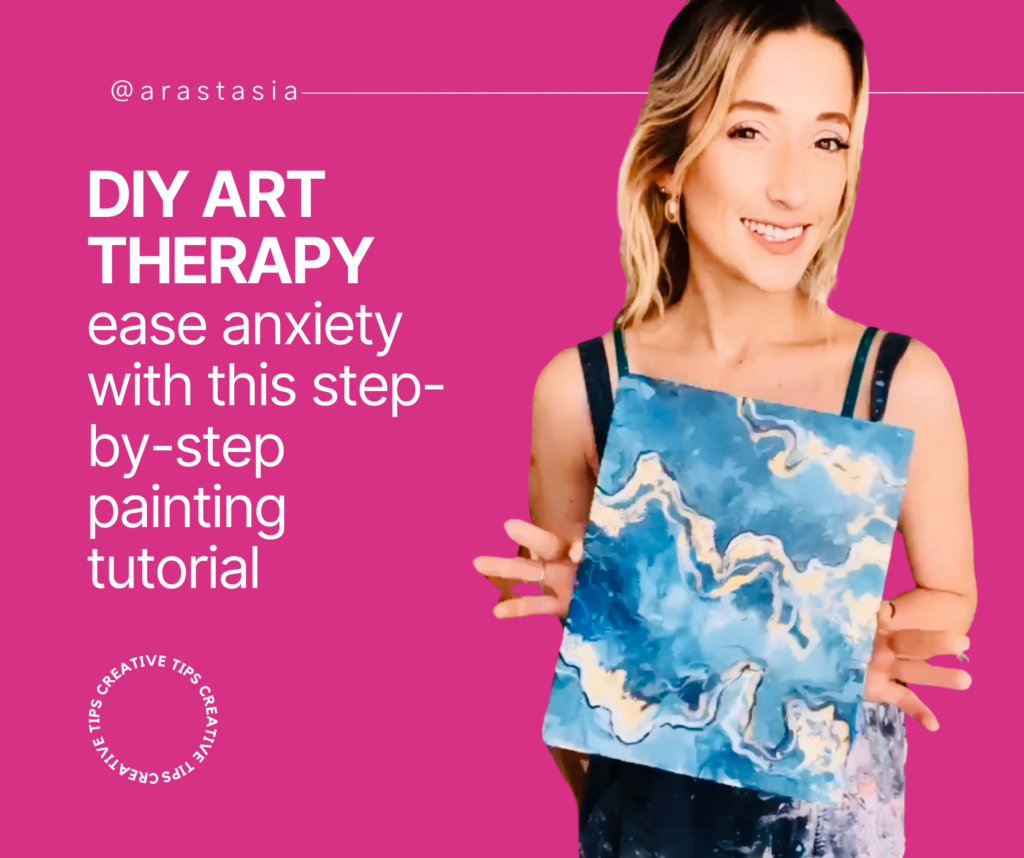
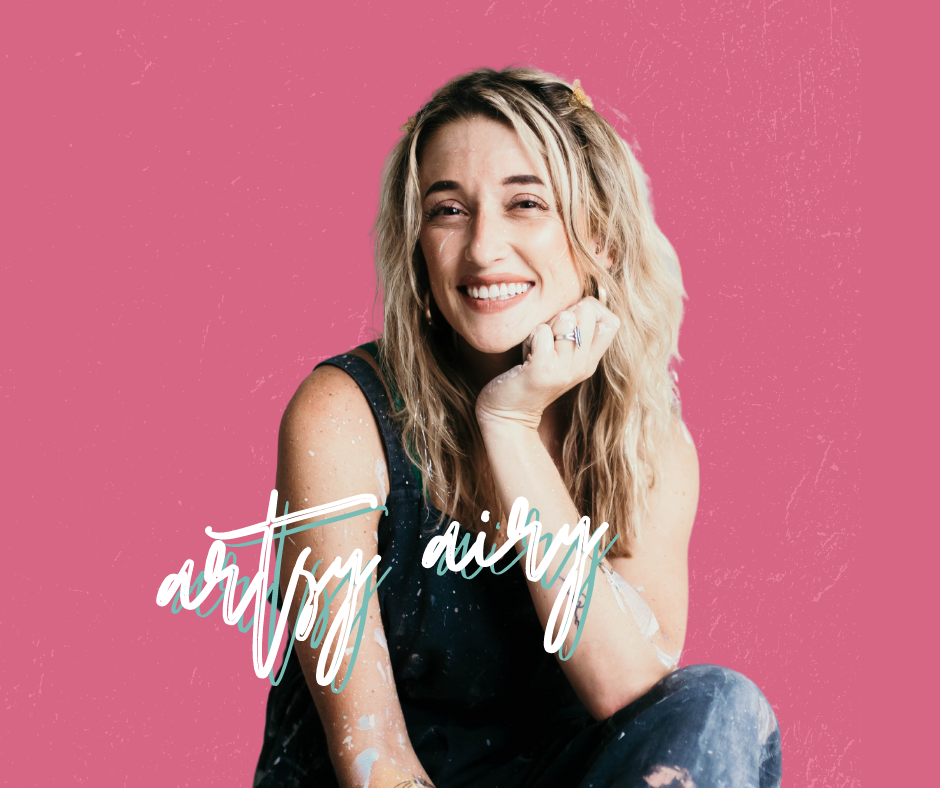
Hello sunshine! Arastasia, aka – artsy airy – here! I am a full-time artist with a deep passion for sharing the mental health benefits of creativity. Painting has become one of my absolute healthiest coping mechanisms and the way it helps my anxiety is life changing. Art therapy can be life-changing for you too! Follow along and I’ll teach you how to embrace creativity for your mental health. In this article I’ve shared step-by-step instructions for a DIY art project to ease your anxiety and calm your racing thoughts.
[ related: check out my Instagram reel with video steps for this painting]
Here’s why you need this DIY art project to ease your anxiety
Creativity and art can be so healing, but often times people don’t know where to start with that process. Additionally, we get caught up in perfectionism and that fear of failing at something. I’m a huge advocate for re-wiring the way we view the idea of “perfect.” I truly believe that there is no such thing as perfect art, and every single person deserves to paint.
In this tutorial, I help you get past those first insecurities by painting in a way that feels free and therapeutic. You will blend colors, layer mediums, and create imperfect lines and shapes. Ultimately, by doing this painting you’re giving yourself time to embrace creativity in a therapeutic way. Your mind will start to calm with each brushstroke, and you’ll be left with a beautiful piece of art that benefited your mental health. So, break out your art supplies, set aside perfection, and have fun with this DIY art project to ease your anxiety!
[related: Finding Inspiration in the Sky: How Painting Clouds Helps My Perfectionism]
Art supplies I used for this DIY art project
If you’d like to see the specific brands of art supplies I used for this tutorial, you can check them out here on my amazon storefront. Otherwise, here’s a little supplies list re-cap.
- Dark Blue Acrylic Paint
- Light Blue Acrylic Paint
- White Acrylic Paint
- Black Acrylic Paint
- Gold Acrylic Paint
- Small Round Paint Brush
- Thin Fine-Line Paint Brush
- Canvas Board
- Gold Flakes
- Modge Podge
Below are the Step-by-Step instructions for your DIY art project!

1. Create a few different shades of blue (or other desired pallet) that you’ll be using for your art project
Start by creating a color palette and mix up a few different shades of blue.
A lighter shade of blue
a medium shade of blue
and a darker shade of blue
When mixing colors for your blues, try adding some other tones into them to make the different shades stand out more. For example, add some green to your blue to create a more teal shade, and add some purple to get more of a blueberry shade. Then create lighter versions of those shades by adding white or black.

2. Paint Squiggly Lines on your canvas, starting near the top of the board
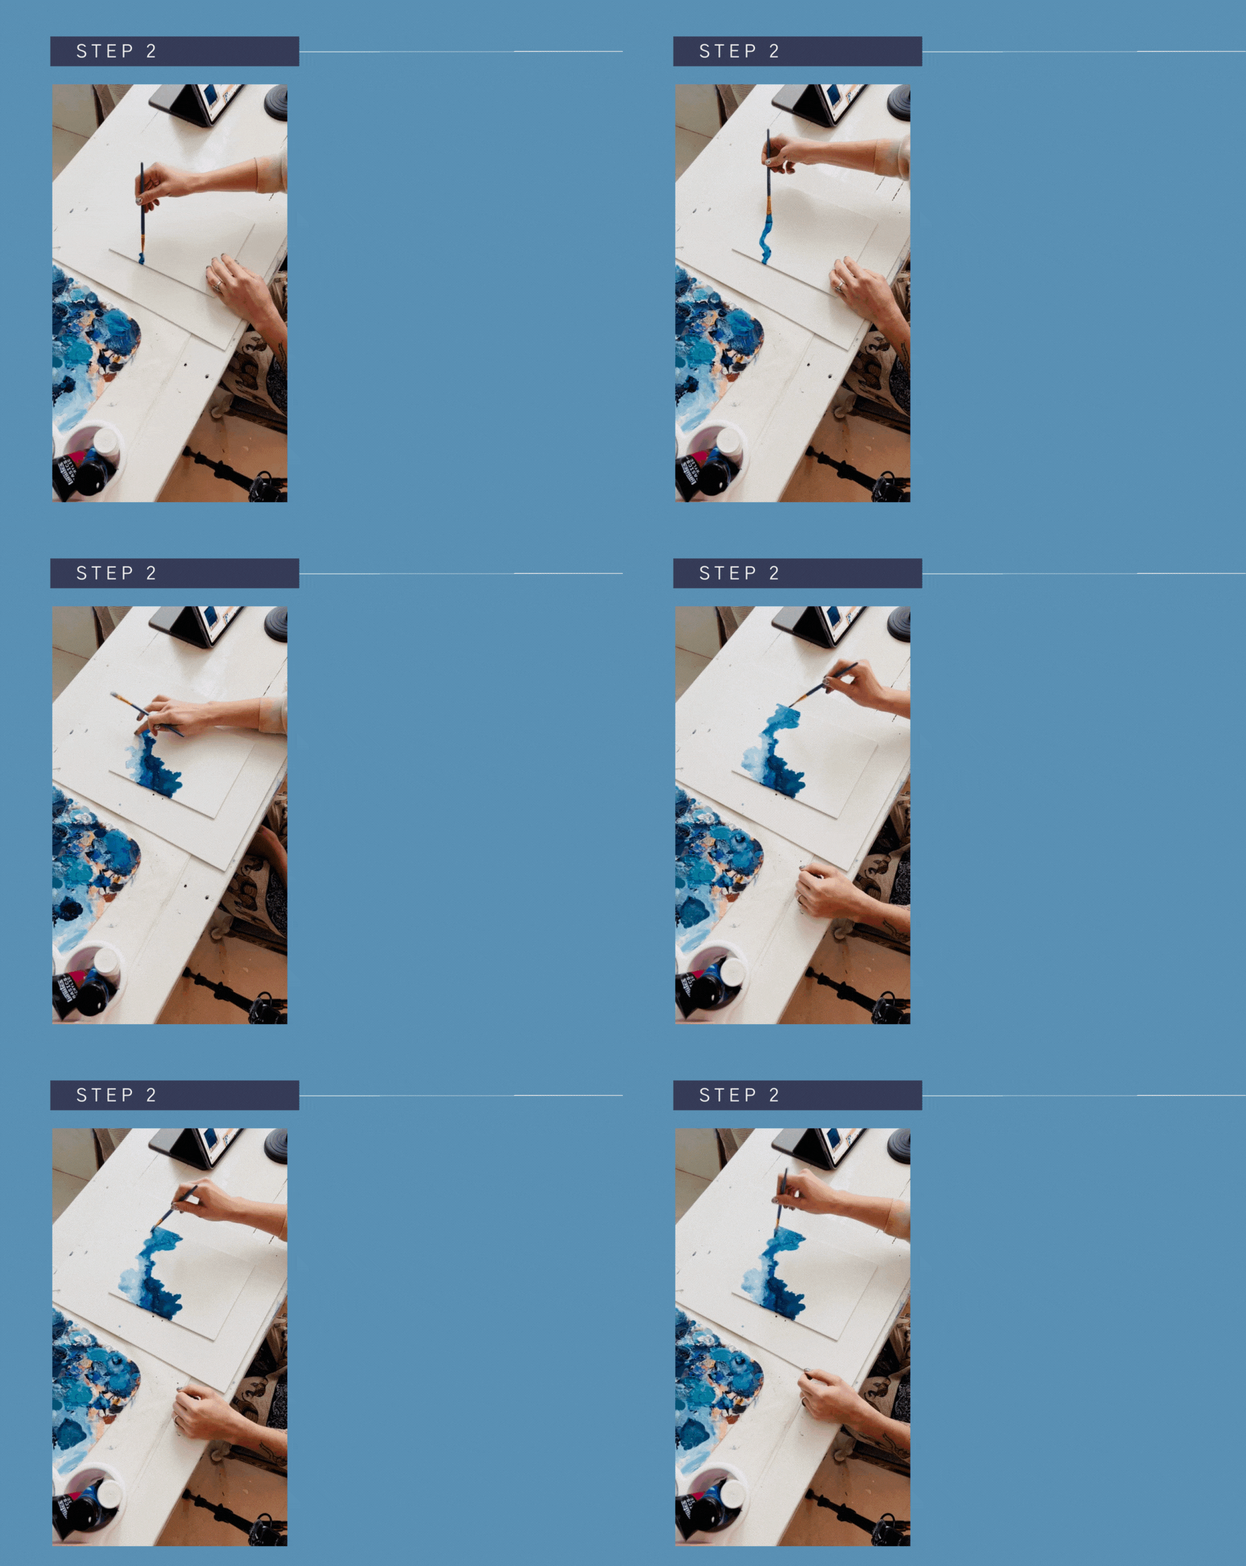
First, using your medium blue, add a squiggly line on your canvas. Second, add some more squiggly lines with your darker blue. Rotate between your shades! Don’t feel pressured to do it “perfectly”. These are just fun squiggles! It should be stress free, and just fun.

3. Add water to dilute the colors
Use water to help blend your shades together as you add in your lines. Dip your brush into your water cup, and allow it to disperse into the paints. Doing this will also help blend the shades together! If you’ve added too much water, you can use a paper towel to pick up some of the excess. Simply, ball it up and then lightly “blot” the areas that need dried.

4. Get creative with your shapes
Add some more random squiggles, circles, etc. to create some more lines and dimension in your piece. Remember to keep rotating between colors and adding water!

5. Make sure your canvas is completely covered with paint, and then let it dry!
Fill your whole canvas with fun shapes and lines, and then let it air dry or take a blow dryer to it to speed up the process! Keep in mind the blow dryer may move some paint around depending on how much water you used! So that being said, be a little intentional with the direction you’re holding the blow dryer and I recommend a low setting.

6. Now it’s time to make your art project pop! Paint in some gold details
Grab your thin paint brush and paint in some gold squiggly lines. Add them in wherever you feel fit! Have fun with it. This tip is very important – make sure your canvas must be 100% dry before adding the gold paints or flakes! If they mix with the blues, they’re going to turn out a muddy color and no longer shine!

7. Create dimension by painting in some black and white line details
Black and white lines will be your next step, and they’ll definitely add some unique dimension to your painting. Paint in your white & black lines by following the gold lines. Be sure to lightly weave in and out of the gold, making sure you don’t completely cover those original gold lines.

8. And my favorite part of this DIY art project – be “extra” and add in gold flakes!
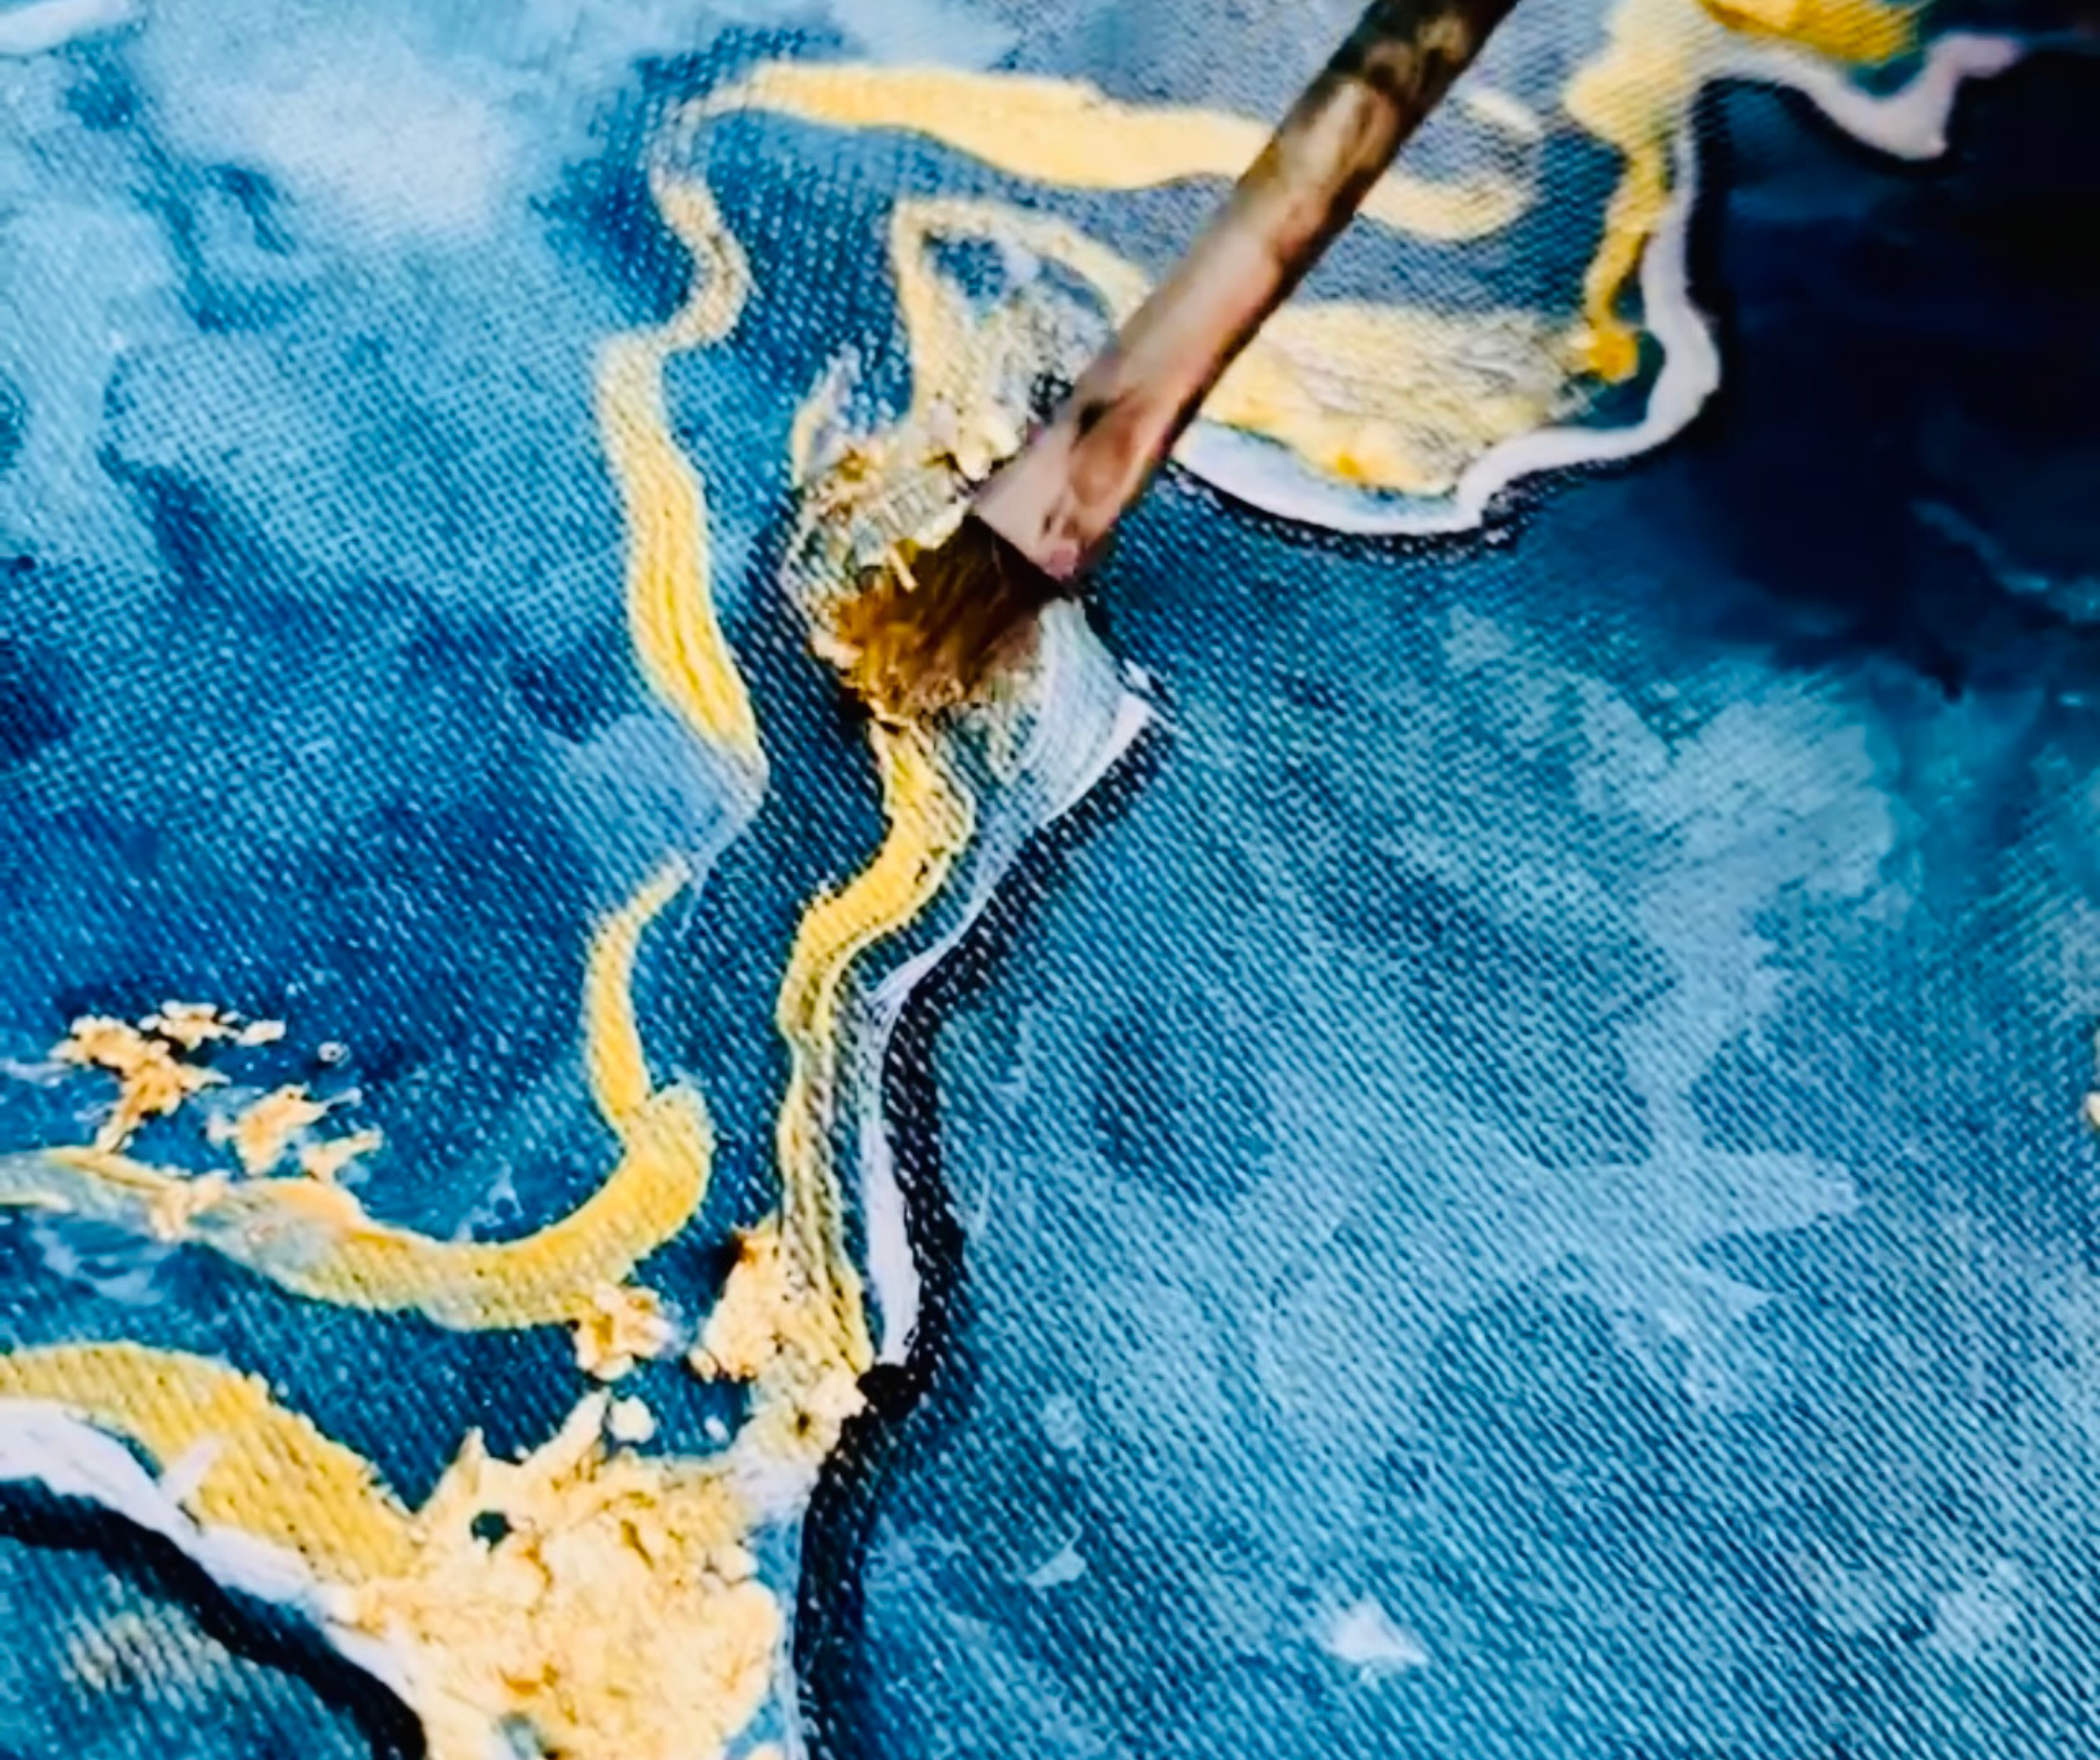
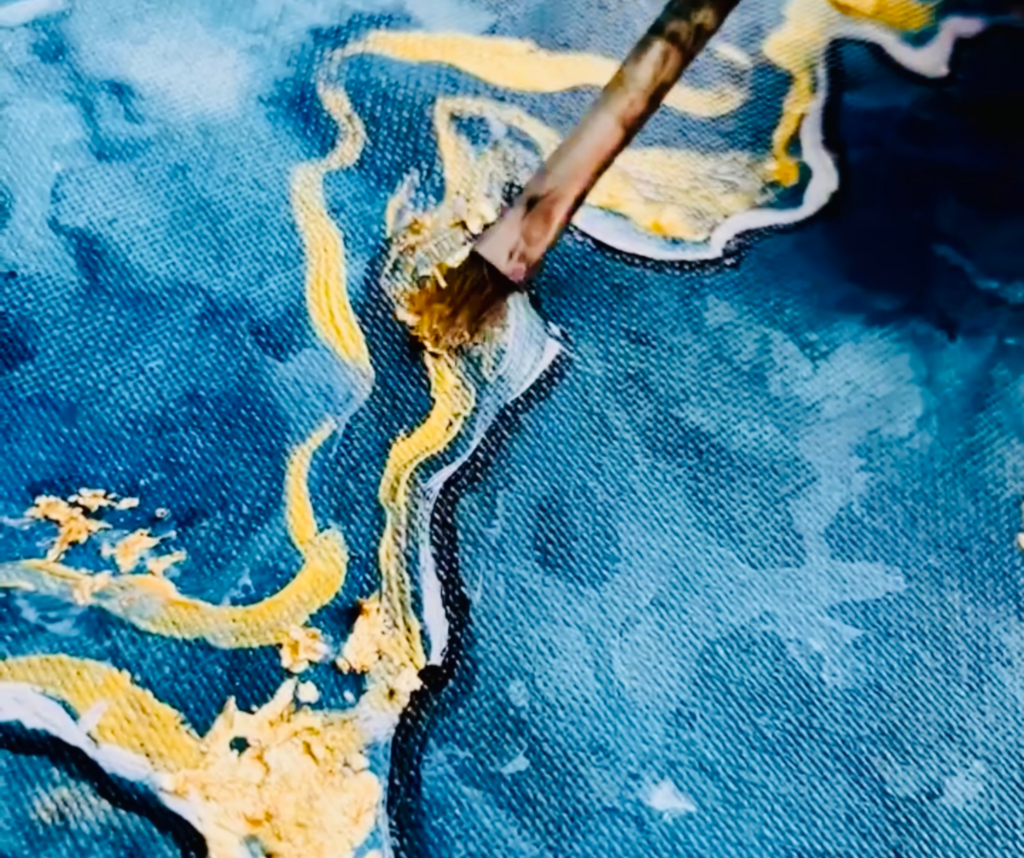
This was my favorite part! I decided to finalize everything with a sparkly element! I added some gold flakes into the gold lines! You can do this by using a gold leaf adhesive, or even a matted modge-podge.
Andddd TA-DA!! that’s it! Now you have a unique & stress-free painting!

Does your mind feel more relaxed after completing this tutorial? If you’d like to see more art tutorials, check out my instagram!
Thanks for reading!

Arastasia Rolain – Traveling Mural Artist, Art Educator, & Creative Entrepreneur