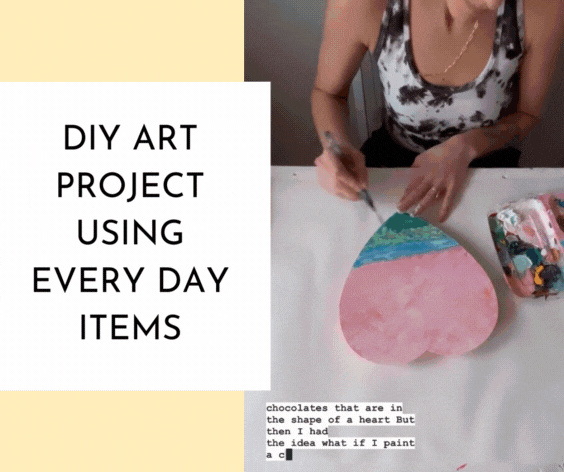
DIY Art Project – Repurposed Chocolate Box Painted Beautiful Wall Art
May 2, 2023
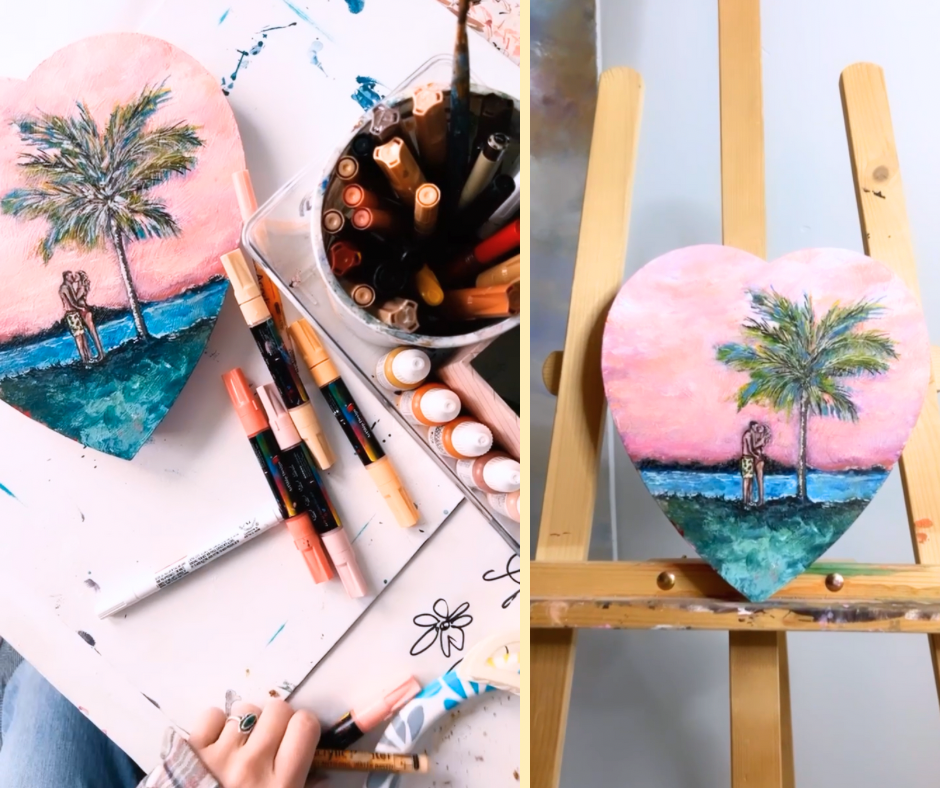
Hello sunshine! If you’re looking for a fun DIY art project that you can do at home, using every day items, then I have a fun idea and tutorial for you! In this article you’ll see how I used an empty Valentines Day chocolate box as inspiration to paint a colorful memory! What started as waste, intended for the trash, is now beautiful wall art hanging in my office! Check out my instagram reel showing the actual process for this painting!
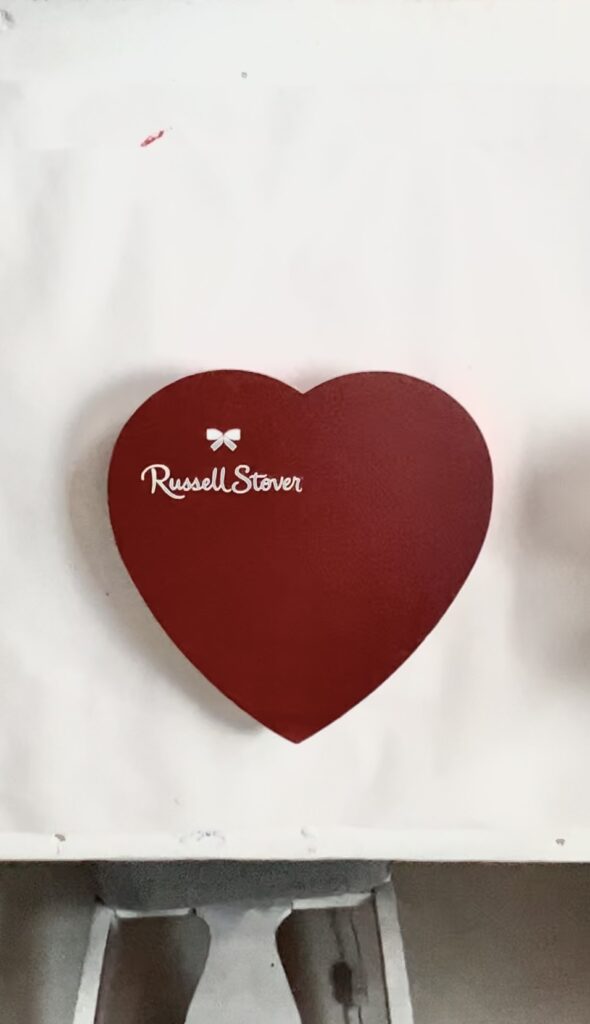
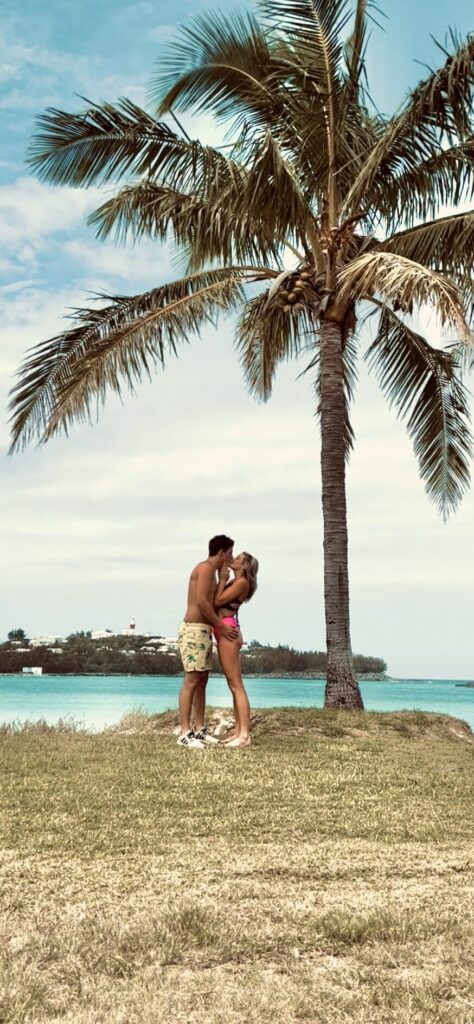
The inspiration and reference photo used for this DIY art project
Fun fact, my boyfriend and i’s first date was actually on Valentines Day. When I saw that the shape of the chocolate boxes was a heart, I thought it would be really cute hanging in my office. I decided to use this photo of us from vacation, because it was a sweet memory (pun intended? Lol) and I knew I could get creative and colorful with the concept!
[ related: DIY Art Project to ease anxiety ]
Quick Glance at the supplies used
You can view the specific supplies over here on my amazon storefront, but here’s a quick glance below.
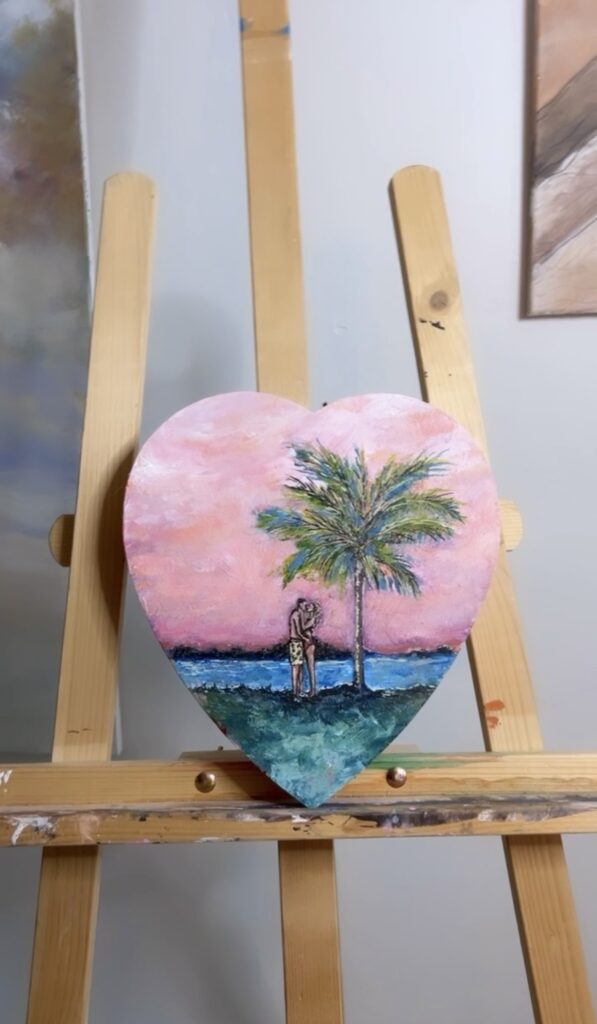
- Empty Russel Stover Chocolate Box
- Modge Podge
- Acrylic Paint
- Small round brush
- Small oil – dry brush
- Fine line paint brush
- Acrylic Paint Markers
Alright, onto the fun stuff. Step by step breakdown of my DIY art project using every day items!
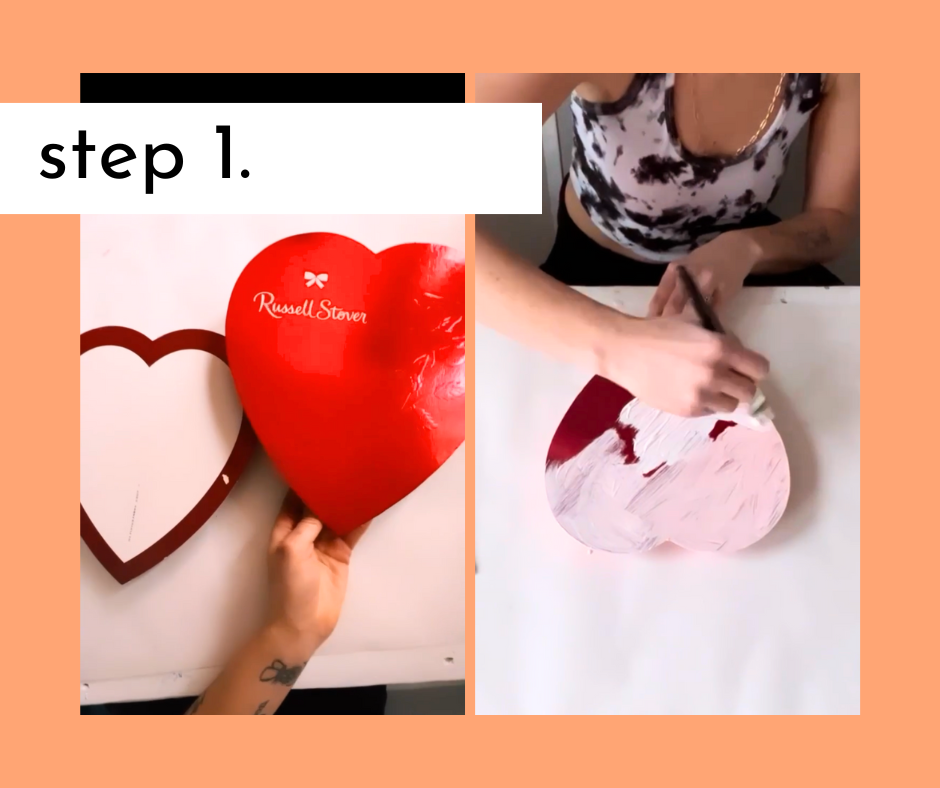
Step One – Paint 2 base layers on the chocolate box
I chose pink to match the aesthetic of my very colorful art studio. The base layers did require two coats to really cover the shiny box material.
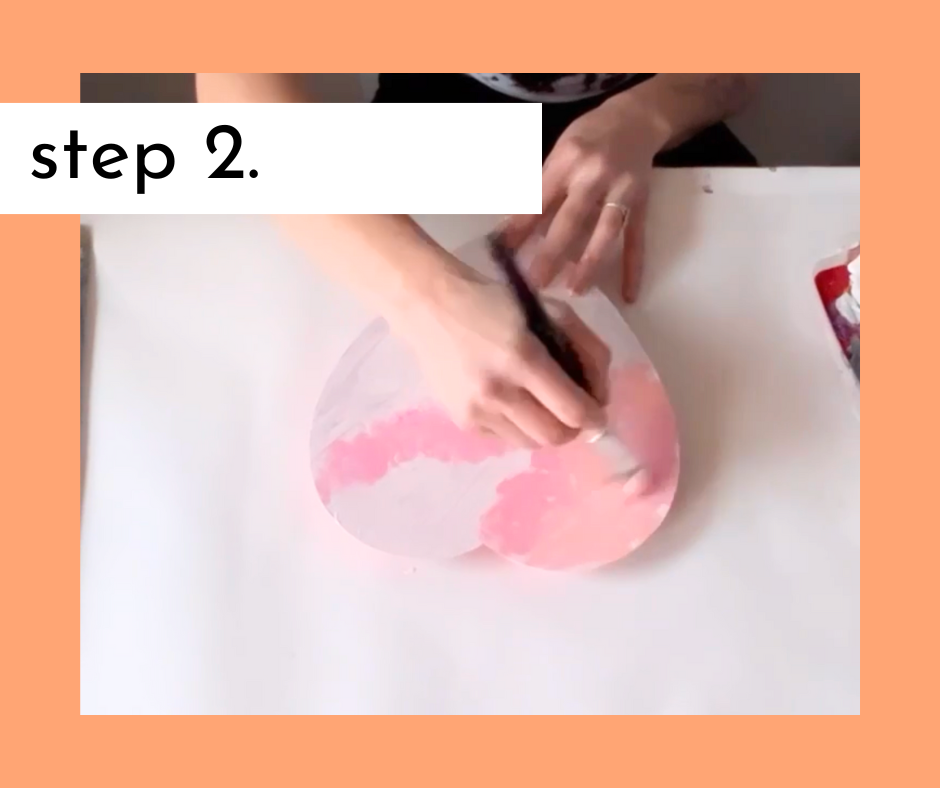
Step Two – Paint the background elements, starting with the vibrant pink sky
The original photo I used for reference actually had a blue sky, however, I wanted my wall art to be very colorful so I adjusted the color pallet a little. To get my desired sky look, i blended variations of lighter and darker pinks, and added in hints of orange tones to give it a sunset vibe.
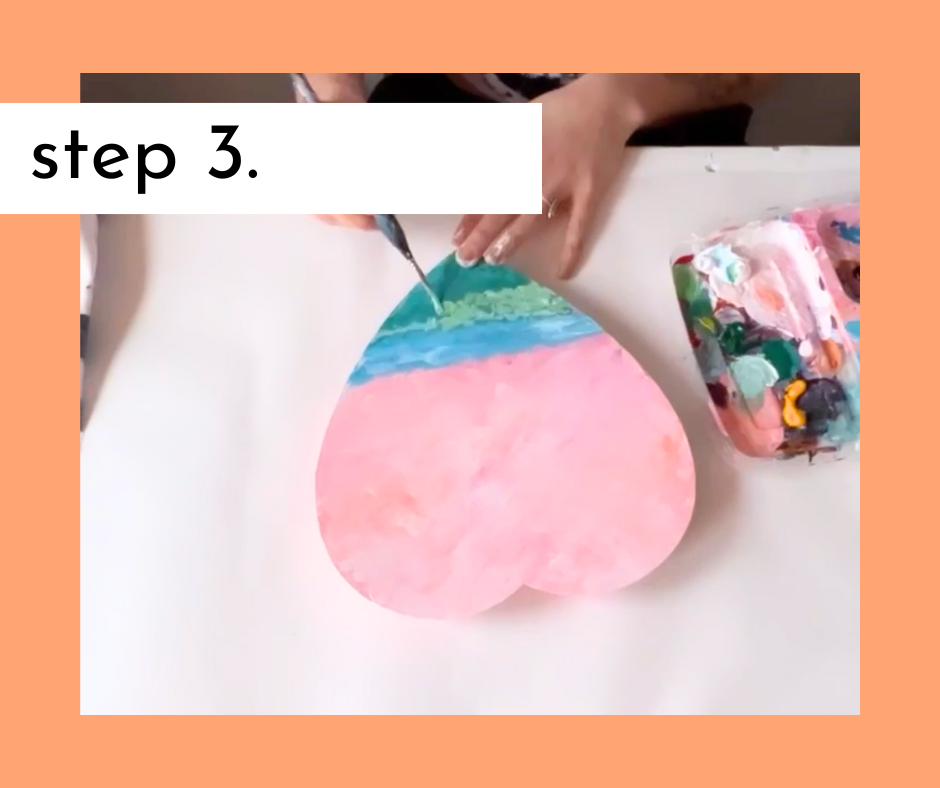
Step Three – paint the water & grass
Firstly, I painted the water using different shades of blue and a small round brush. After that, I painted layers of grass using dark greens & bright greens to create dimension.
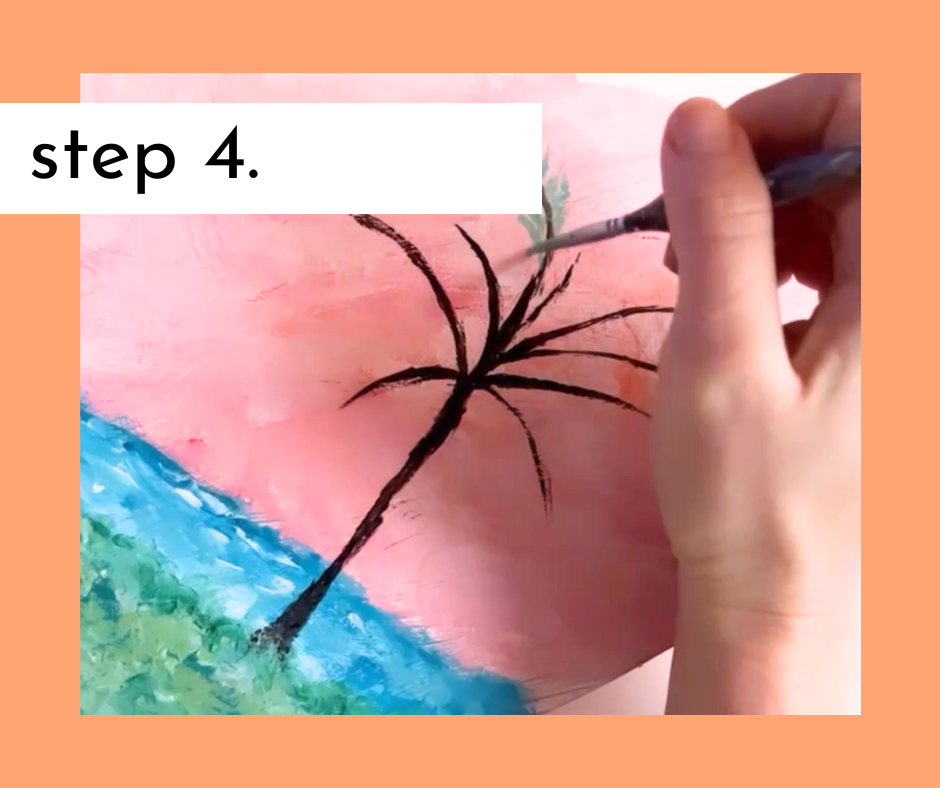
Step Four – Paint the palm tree
I could paint palm trees all day.. they’re one of my go-to’s. I start with the outline of the palm tree, just using black lines. Then, go in with small detail lines to create the leafs and their shape. Of course, to match the vibe of the rest of the painting, I used many layers of colors for dimension and vibrancy.
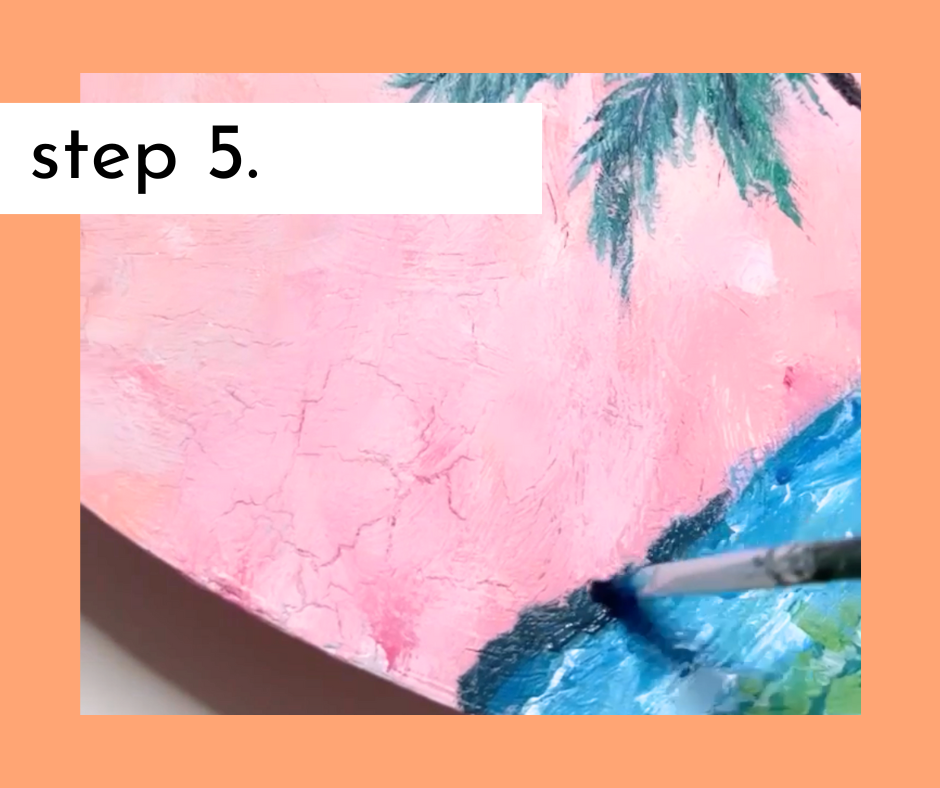
Step 5 – paint final details inside the water, grass, & palm trees
Once the overall design was painted, I was then able to really bring things to life with small details. I added a dark blue to the horizon of the water, dark greens to the grass, brighter tones to the clouds, and so on.
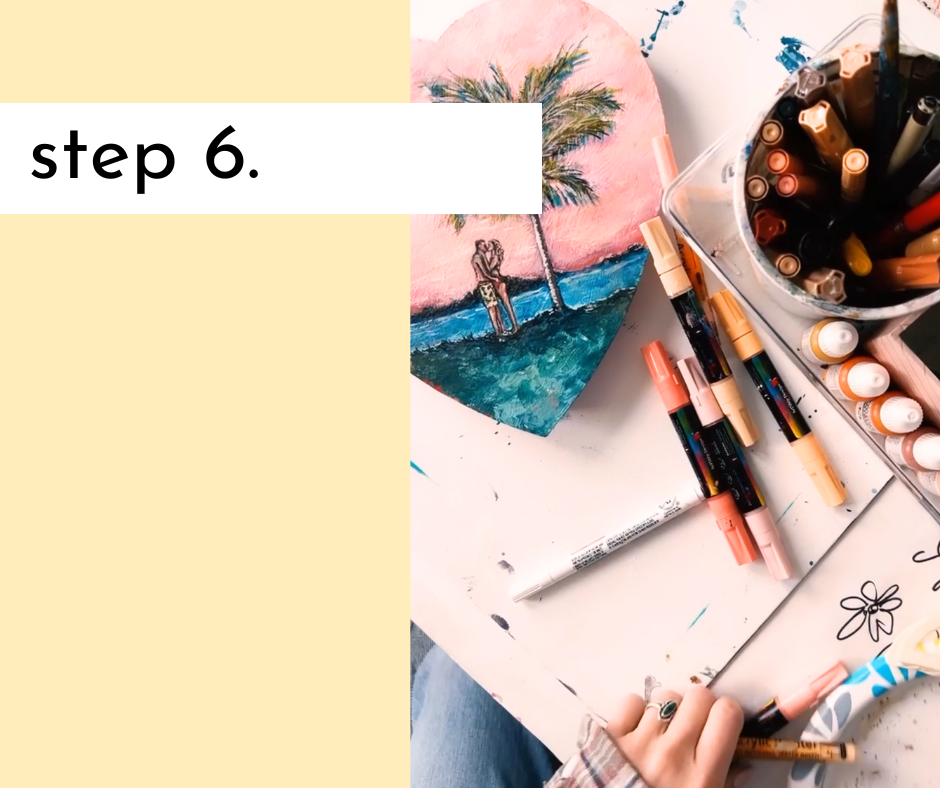
Step Six- Add in the most important part – my boyfriend and I kissing on vacation
For this part, I opted into using my acrylic markers. Because we were such a small portion of this painting (already on a small “canvas”) I felt it would be easier to draw us with markers. To do so, I first just drew the outline of our bodies, and started shading with different skin tones. This part of the painting definitely took the longest, it was tedious but I enjoyed it!
coming soon – part two of how i painted the other side of the chocolate box, and finalized this DIY art project
Thanks for reading!

Arastasia Rolain – Traveling Mural Artist, Art Educator, & Creative Entrepreneur
