How To Paint Fluffy Clouds: 5 of My Personal Tips & Tricks
August 29, 2024
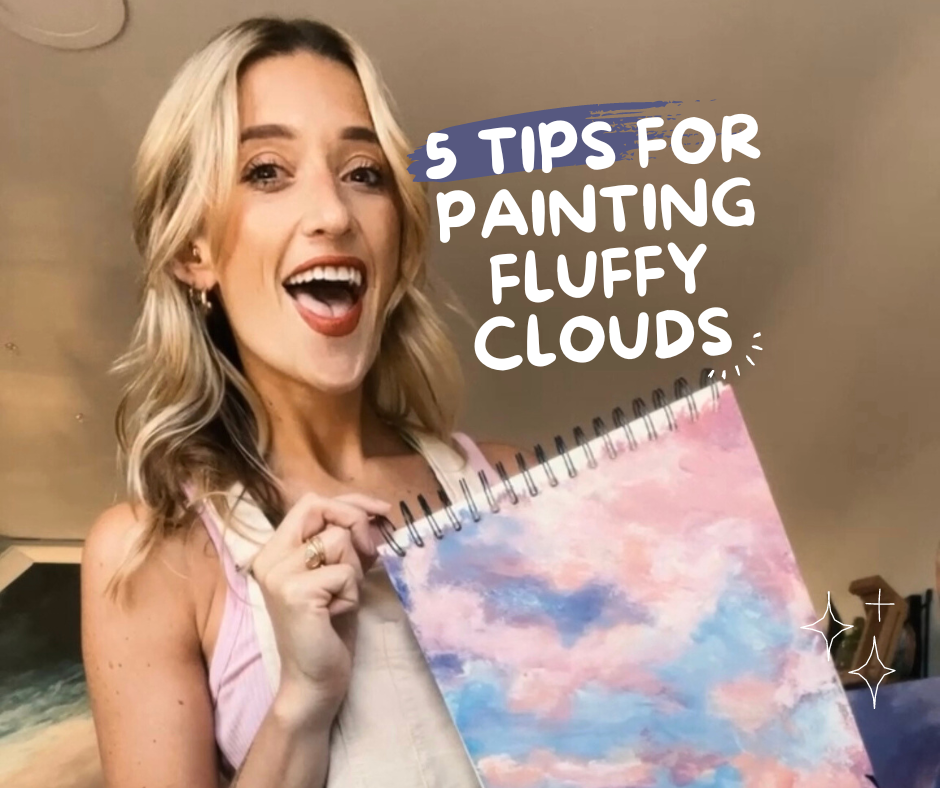
Introduction: How to Paint Fluffy Clouds
Painting clouds is one of my absolute favorite things to do. There’s something so calming about capturing those soft, fluffy shapes on canvas. Over time, I’ve become known for my cloud paintings on social media, and I’m constantly reminding people to take a moment to stop and look at the sky. (and even better, then paint that sky!) It’s been amazing to see so many people connect with skies all over the world. If you’re like me and love the idea of bringing dreamy clouds into your artwork, I’m excited to share some of my main tips for how to paint clouds!
[curious about why i love painting clouds so much? Read about How Painting Clouds Helps Perfectionism & Anxiety]
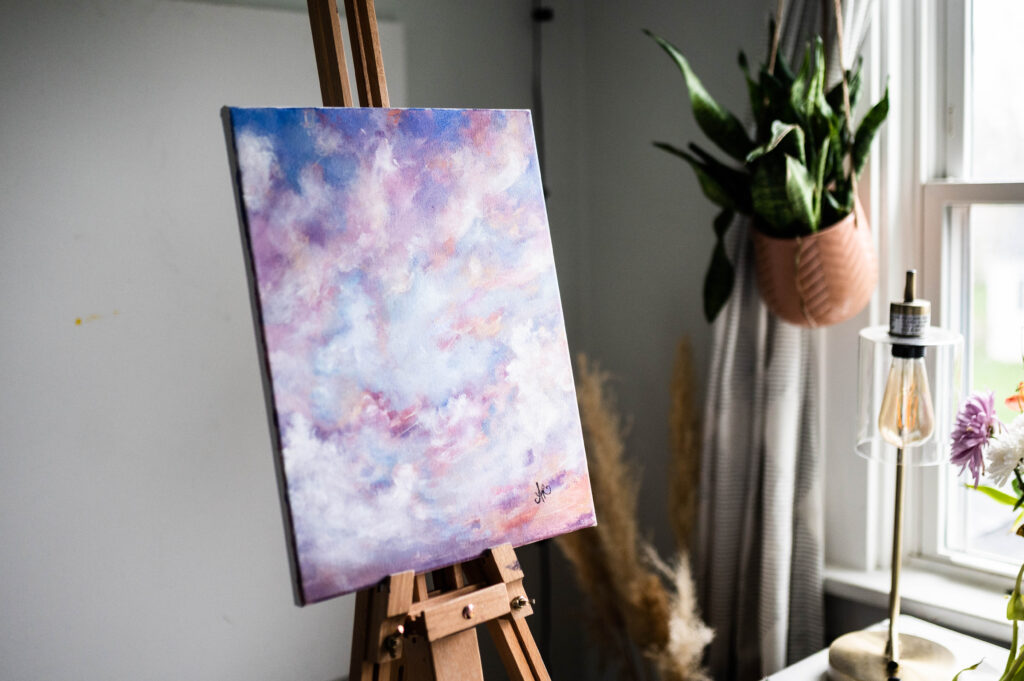
Quick Breakdown of My 5 Tips for Painting Fluffy Clouds
To sum up, if you want to paint clouds that look soft and realistic, here are the five main tips to keep in mind:
- Use Minimal Paint: Start with less paint on your brush to keep your layers light and airy.
- Layer Your Paint: Build up thin layers of paint to create depth and dimension.
- Apply Soft Pressure: Use gentle brush strokes and circular motions for seamless blending.
- Add Water for Blending: Thin your paint with a bit of water to make blending easier.
- Use a Mop Brush (and Hands!): A mop brush is great for soft blending, and don’t be afraid to use your hands for those final touches.
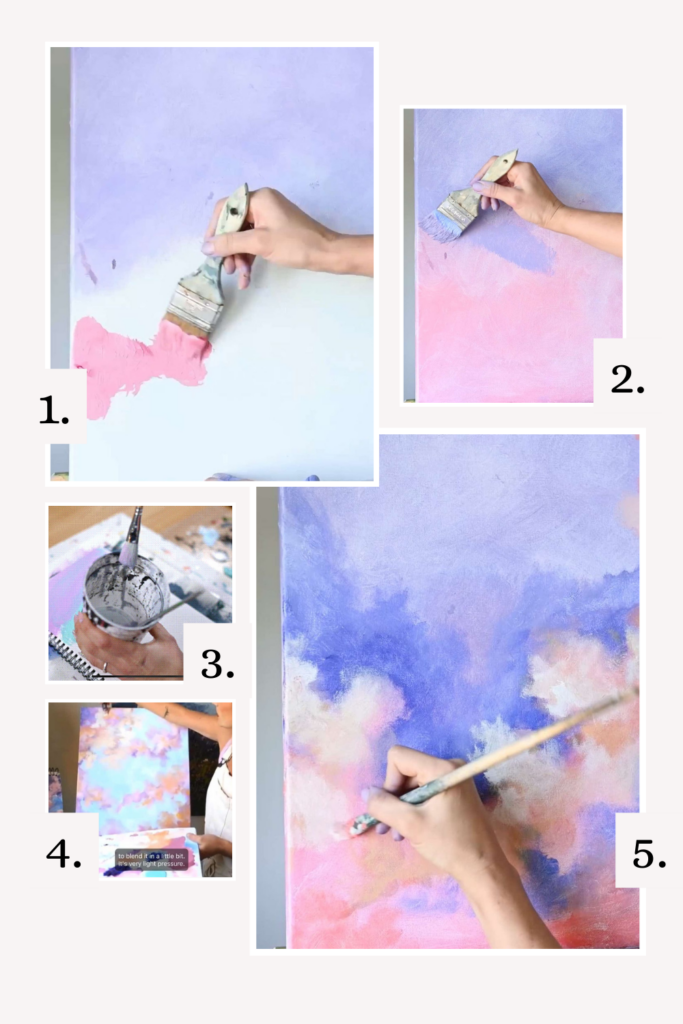
Now, let’s get into these tips a bit deeper and with more explanation!
1. Don’t Oversaturate Your Brush with Too Much Paint
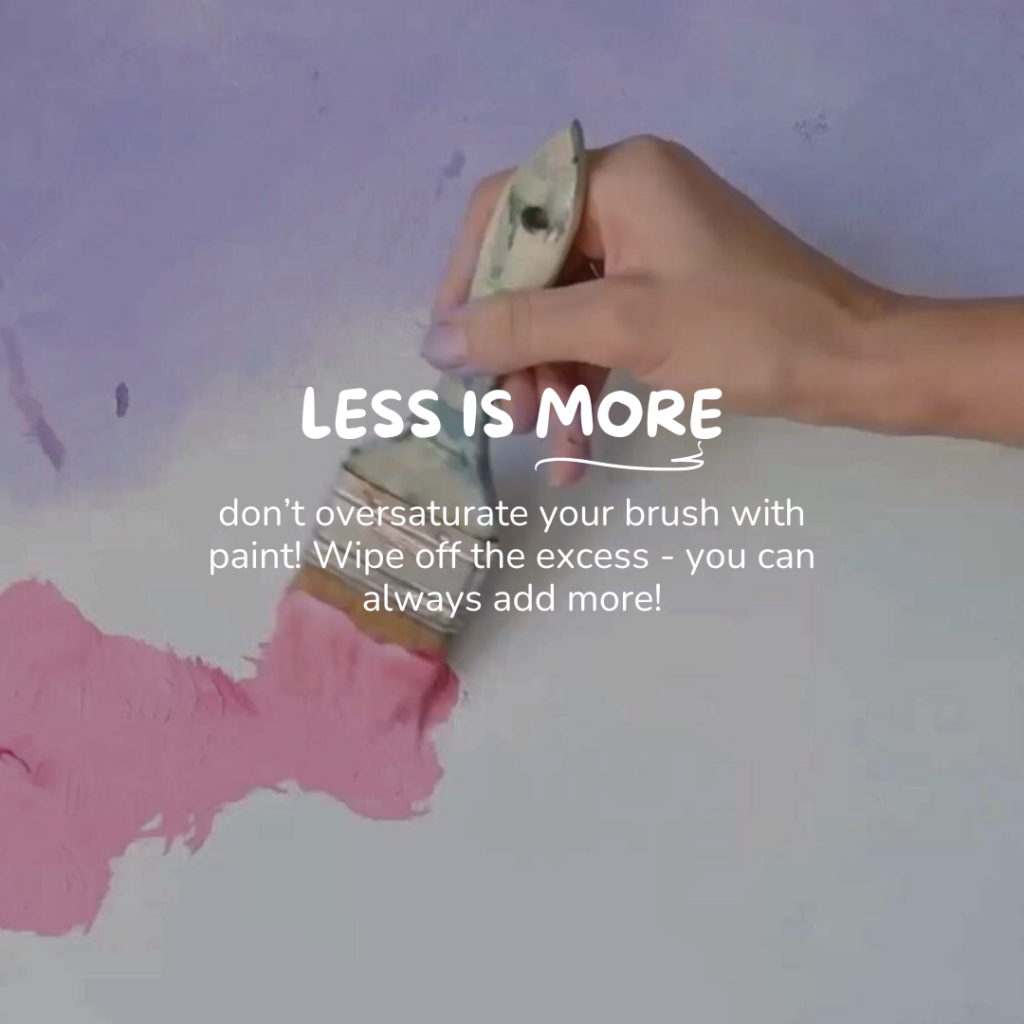
When it comes to painting clouds, less is definitely more. Be mindful to not overload your brush with too much paint. I recommend dipping the brush into your paint color, and then tapping some of the excess off on a plate before adding it to your canvas. This is especially important when layering colors. This way, the layers underneath can peek through, giving the clouds a light, airy feel. Doing this will allow you to get better wispy and fluffy textures in your clouds.
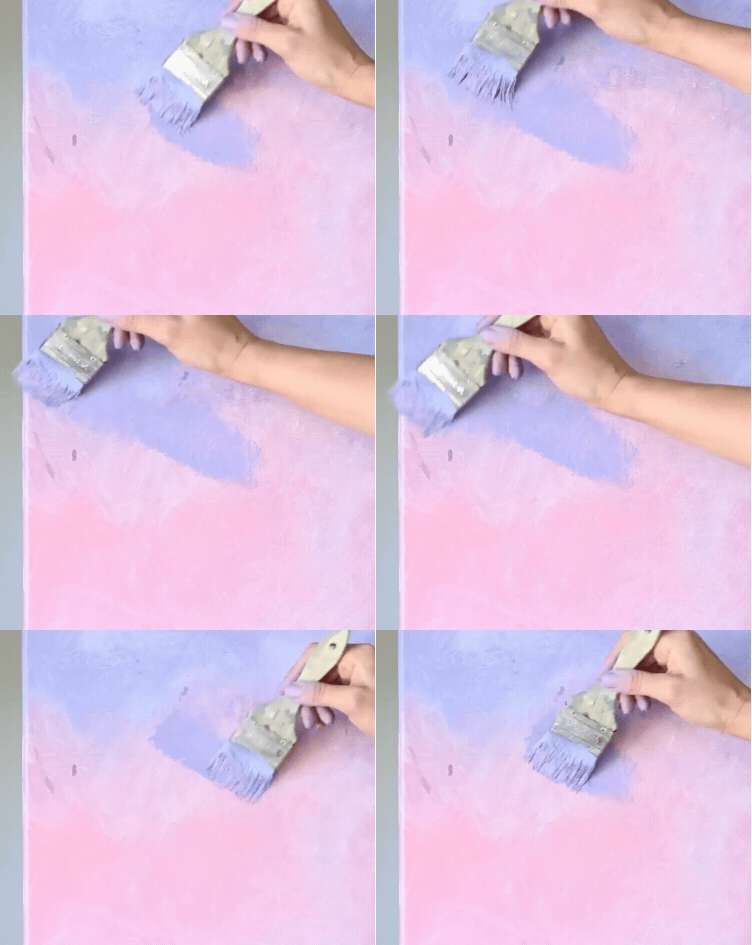
P.S. – If you’re looking for the right supplies to get started, check out my amazon list of my favorite acrylic painting supplies or check out this blog post featuring all of my favorites!
My Go-To Art Supplies as a Creative Artist – arastasia.com
arastasia.com is a participant in the Amazon Services LLC Associates Program, an affiliate advertising program designed to provide a means for sites to earn advertising fees by advertising and linking to amazon.com
2. Layer Your Paint for Depth and Dimension

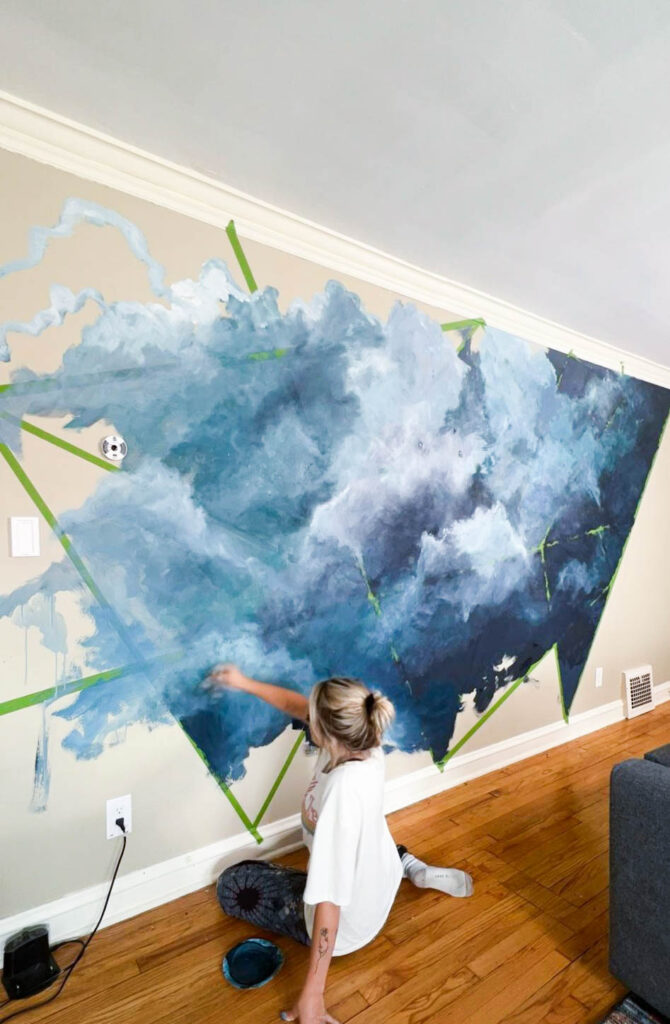
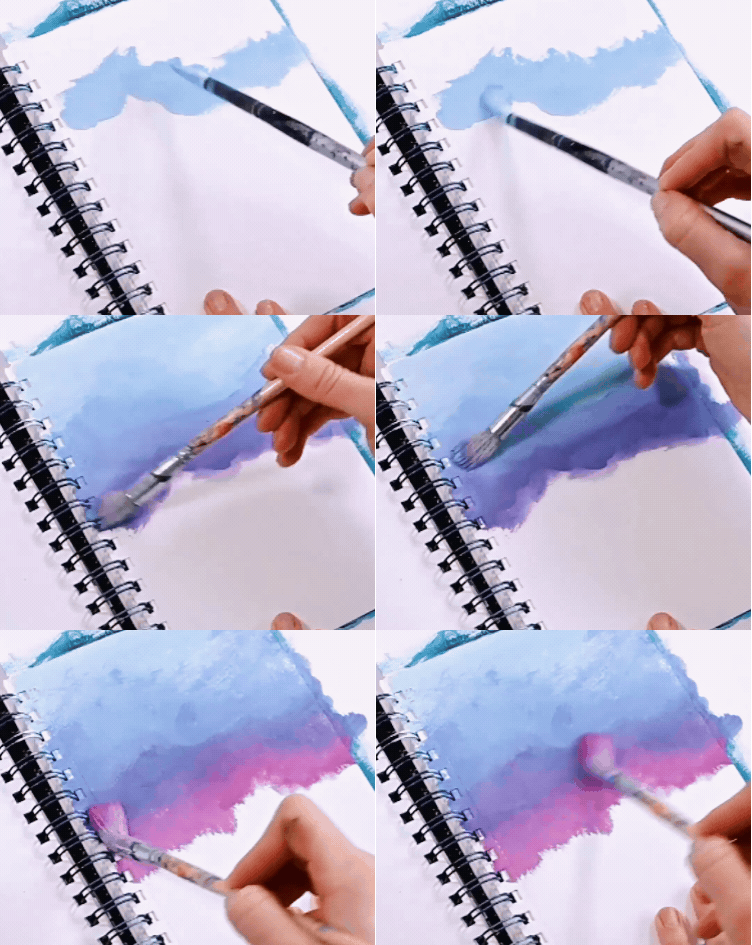
One of the biggest tricks to painting realistic clouds is layering. By adding multiple thin layers, you can build depth and color that make the clouds really pop. This is something I dive into more in my online cloud painting class, where I guide you step-by-step through the process. When layering, start with your darker & vibrant tones first, and then build on with lighter and softer tones.
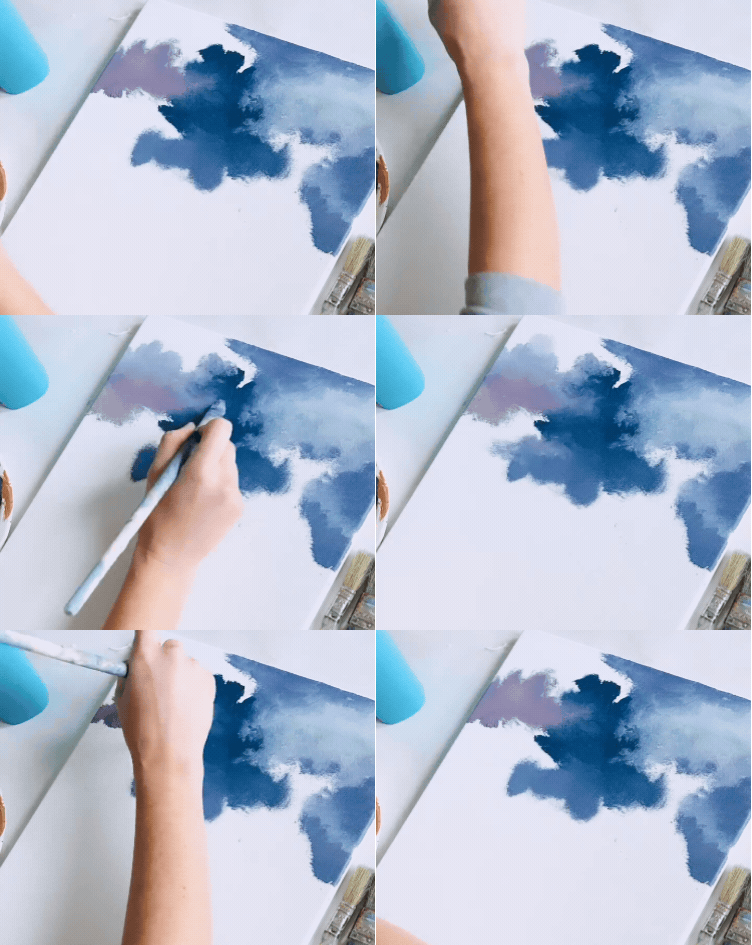

Check out one of my biggest cloud paintings to date! I transformed a bedroom with blank walls into a giant cloud mural – “Bedroom Transformation: Blank Wall Turned Dreamy Cloud Mural”
3. Use Soft Pressure for Seamless Blending
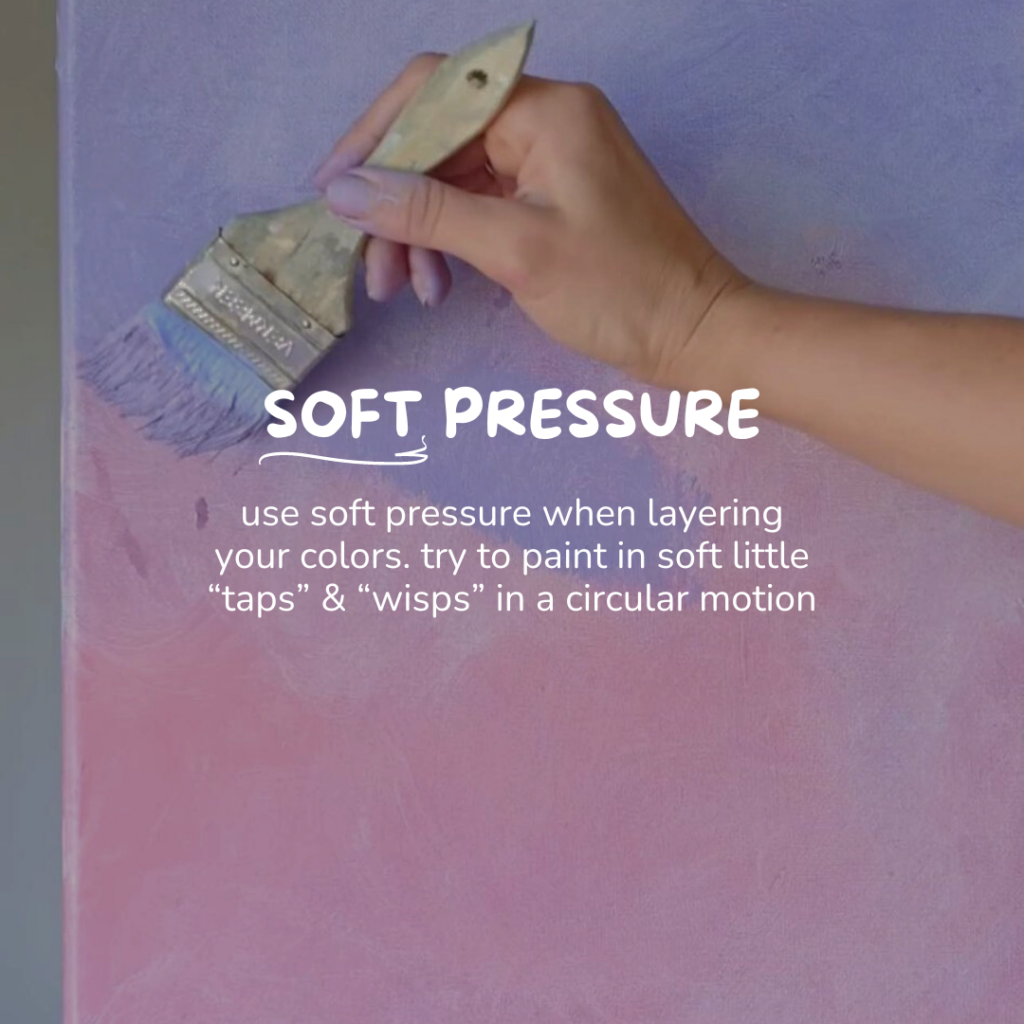
Soft pressure is key when blending your cloud layers. This is something you’ll hear me say over and over in my online cloud painting classes! I like to use light, circular motions with my brush, barely touching the canvas. This helps create those smooth, fluffy edges that make clouds look so realistic.
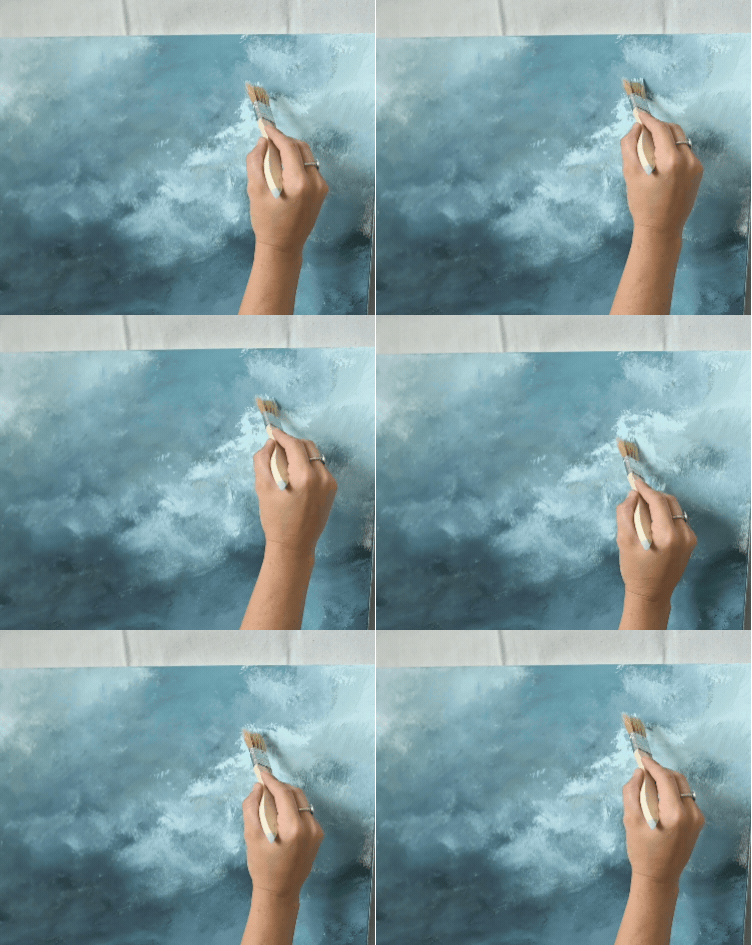
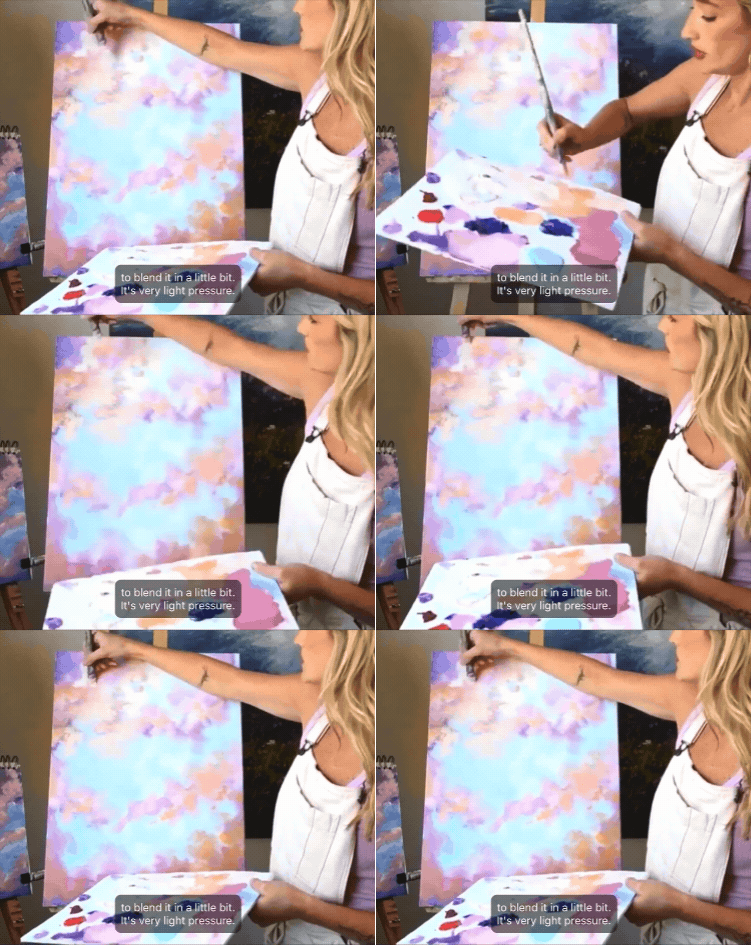
4. Add Water for Blending
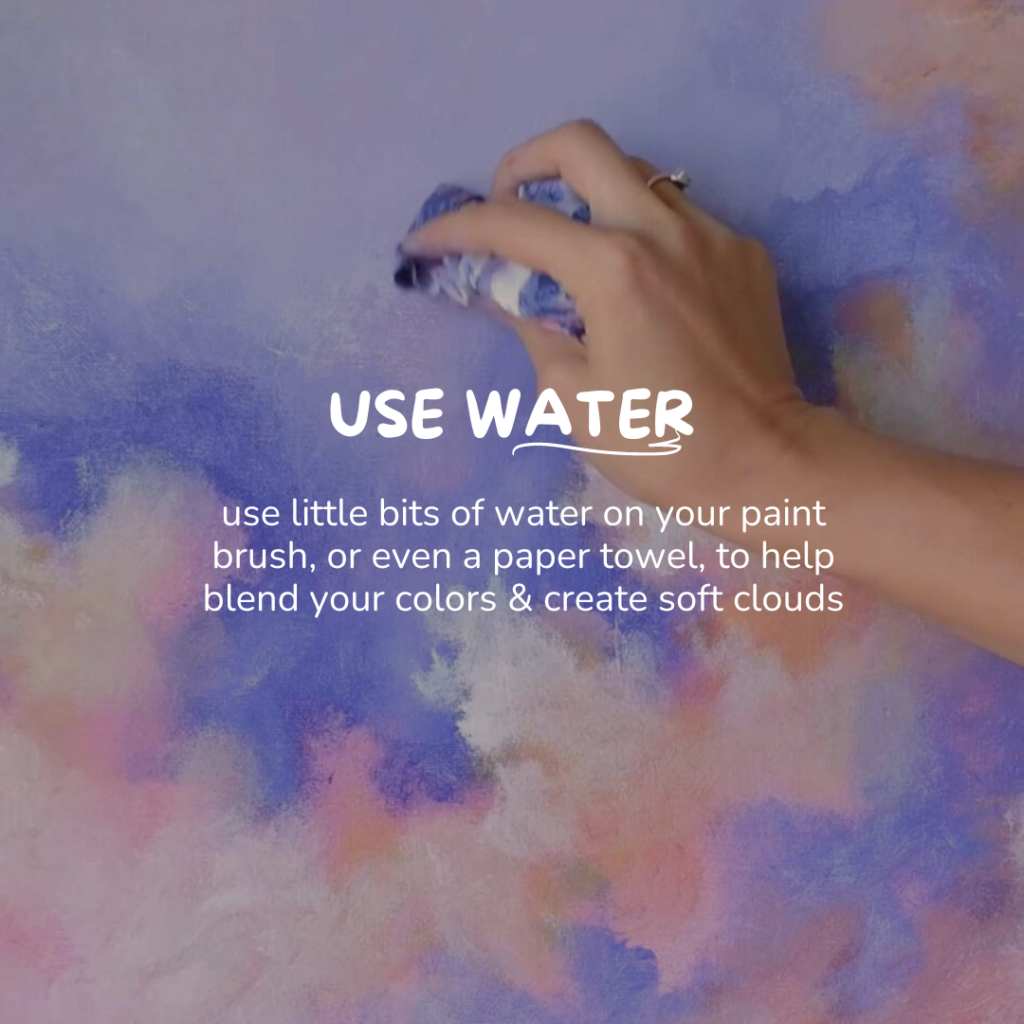
I also like to add a bit of water to my paints to help with blending. The water thins the paint just enough to make the transitions between colors super smooth. This is especially helpful when you’re working on those fine details or blending multiple colors within a single cloud. Be sure to wipe off the excess water when utilizing this technique. You want to make sure that the brush is saturated, but not dripping.

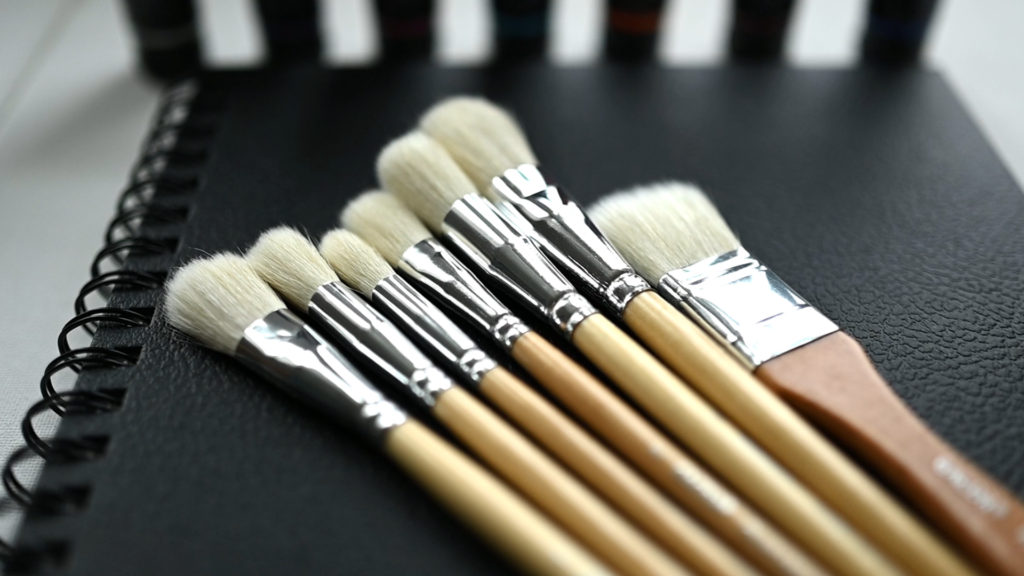
5. Use a Mop Brush for Soft Blends
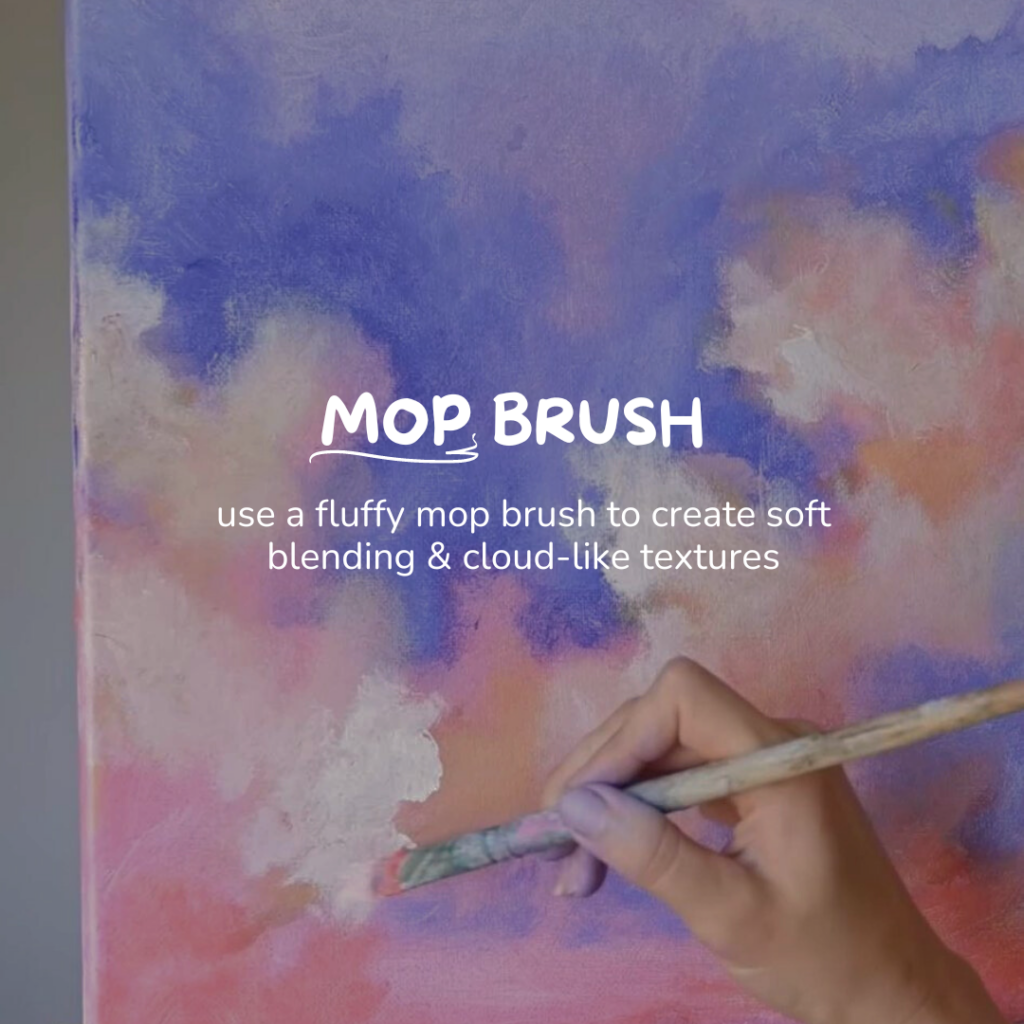
A mop brush is one of my go-to tools for creating soft blends. Its rounded shape and soft bristles make it perfect for gently blending colors without harsh lines. And honestly, don’t be afraid to get your hands in there too, as long as you don’t mind getting messy! For me, personally, I always end up using my hands to paint. However, if you want to avoid a mess, you can also use a wet paper towel, or an additional dry paint brush.
You can find some mop brushes that I recommend here on my amazon!

Ready to Paint Some Vibrant, Fluffy Clouds?
If you’re excited to dive deeper into painting clouds, check out my detailed online cloud painting class. Or, if you’re interested in painting more complex scenes like ocean sunsets, take a peek at my ocean sunset paint class.
Thanks for reading my love! Remember to stay shining and stay creating! ☀️
sincerely, your artsy friend that is rooting for you-


Arastasia Rolain – Traveling Mural Artist, Art Educator, & Creative Entrepreneur