Cruise into Creativity: Travel Art Supplies I Packed For Vacation
April 3, 2023

I embraced creating on the go by packing some of my some favorite travel art supplies
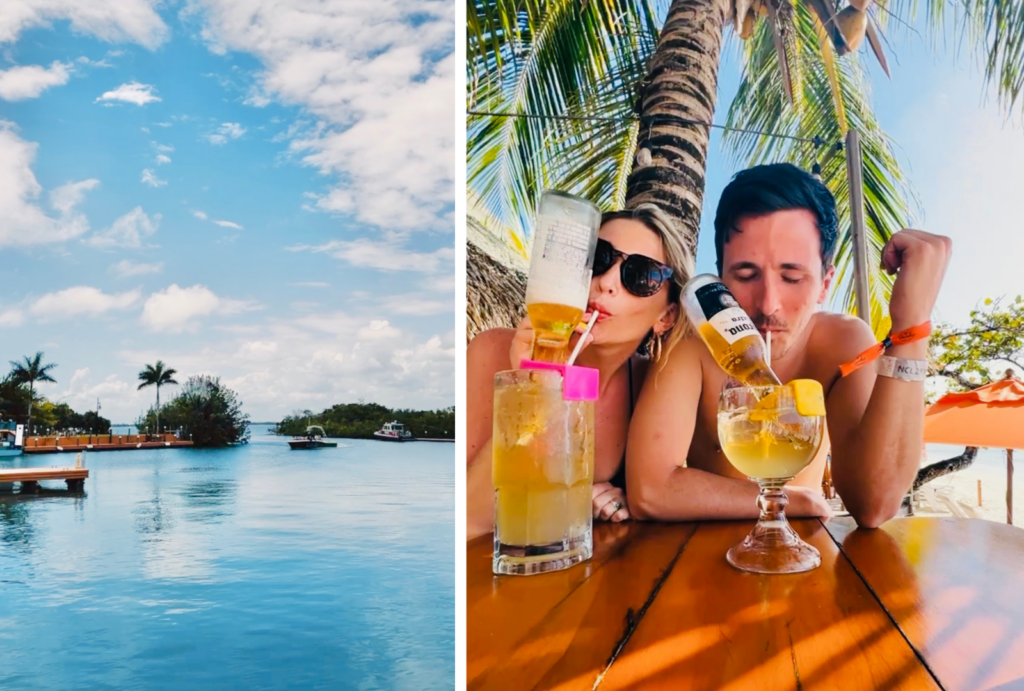
Have you ever wanted to paint on the go, or even on vacation, but didn’t know what travel art supplies to pack? No worries my friend, I am here to help! I recently went on a cruise, and packed the perfect amount of supplies for painting in all sorts of locations! In this blog article you’ll find the exact products I used, and some explanations of how I used them!
arastasia.com is a participant in the Amazon Services LLC Associates Program, an affiliate advertising program designed to provide a means for sites to earn advertising fees by advertising and linking to amazon.com
[ Related ] How My Norwegian Cruise Inspired Relaxing Painting on Vacation
Travel Art Supplies Quick Glance
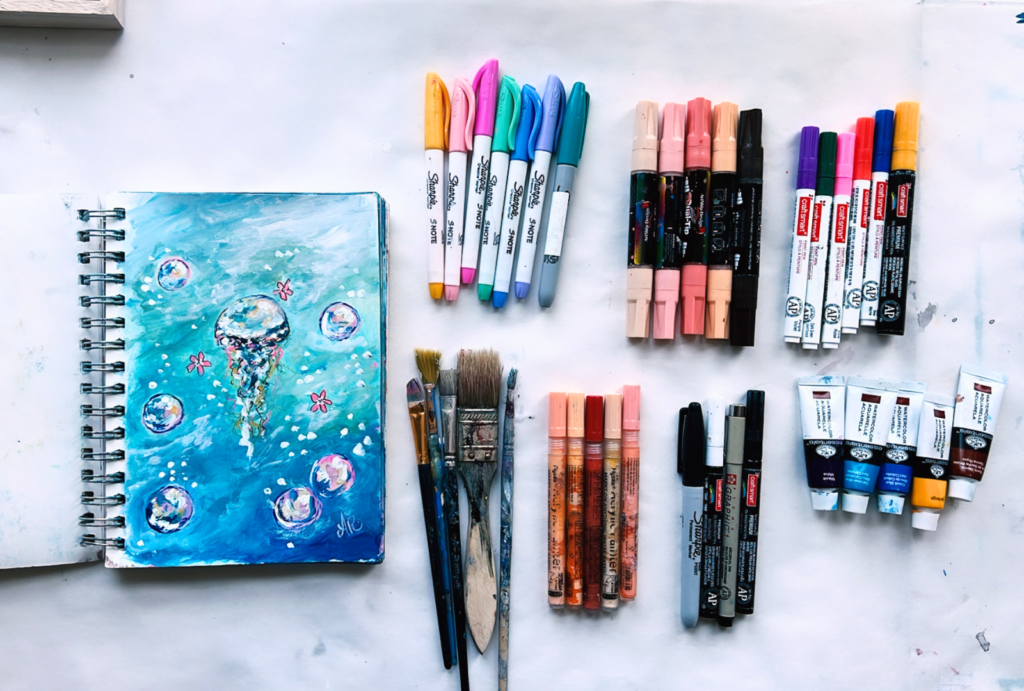
Here’s a quick summary list of the supplies i personally packed for our cruise vacation. Keep reading to see photos of the artwork I created and to learn more about each art tool, and where you can find it.
- Mixed Media Art Journal
- Colorful Acrylic Painting Markers
- Black & White Paint Markers
- Mini Watercolor Paints
- Thin Dry Brush
- Thick Dry Brush
- Small & Thin Line Paint Brush
- Pastel Colored Sharpie Markers
A Travel Art Supplies Staple – My Strathmore Mixed Media Art Journal
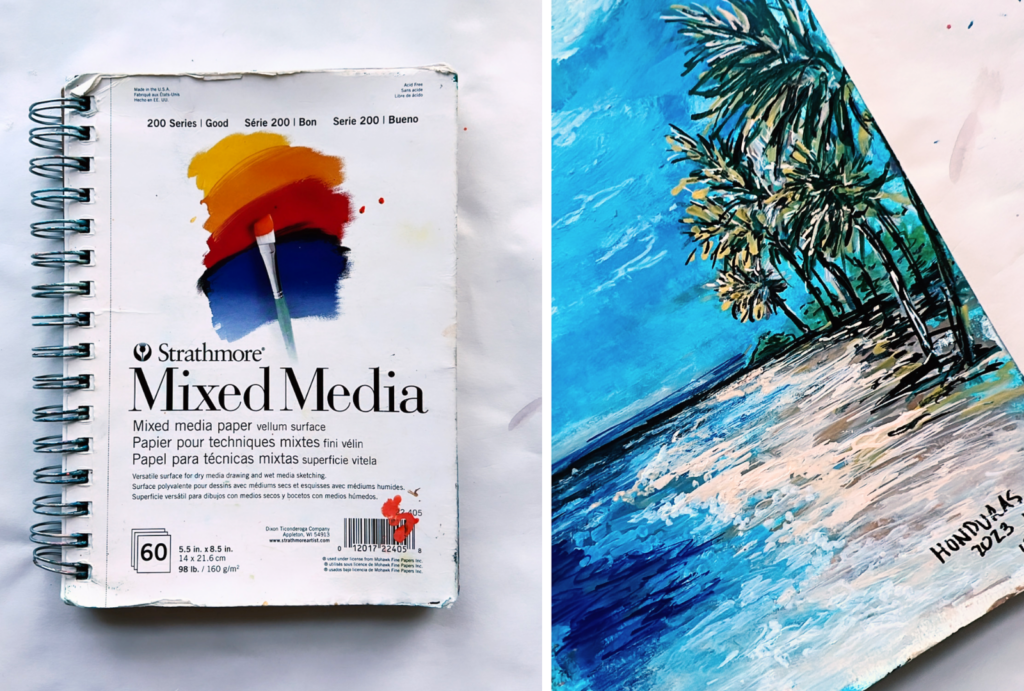
I have had this art journal for YEARS! It has become one of my go-to staples for painting in public places, and a travel art supplies staple. I’ve personally found that this art journal has thick enough pages to handle many layers of paint, which is pretty essential for my style and personal approach to my art. Additionally, I found it impressive that the pages stand up to water elements when i’m blending, and rarely fray or fall apart. Because I bought this so many years ago, I’m struggling to find the exact one to link. However, you can buy a really similar journal created by the same company here on amazon.
Acrylic Painting Markers
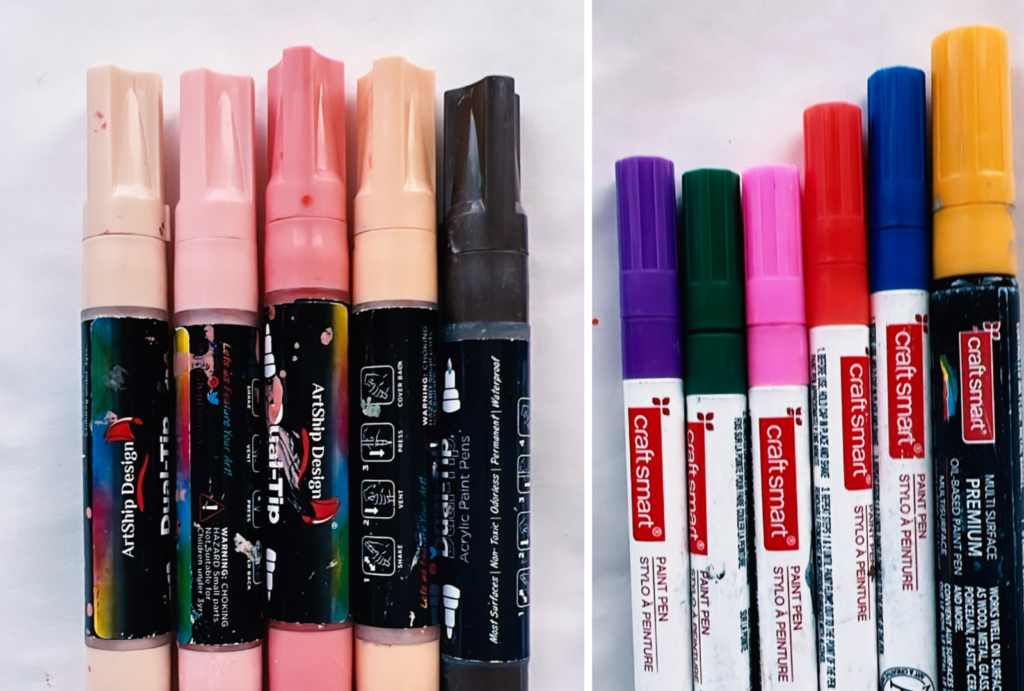
To avoid packing inconvenient bottles of paint, and fearful of the risk of being messy, I decided to pack acrylic paint markers. Both sets of these markers really allowed me to have that acrylic texture that that you’ll typically see in my art. The bonus points for the Artship Design markers is that they are double sided, one side thick, and the other thin. The Craftsmart markers were about a medium size, and were great for filling in details. However, the lack of a small pen size didn’t allow for smaller elements in my art.
Colorful & Black and White Sharpie Markers
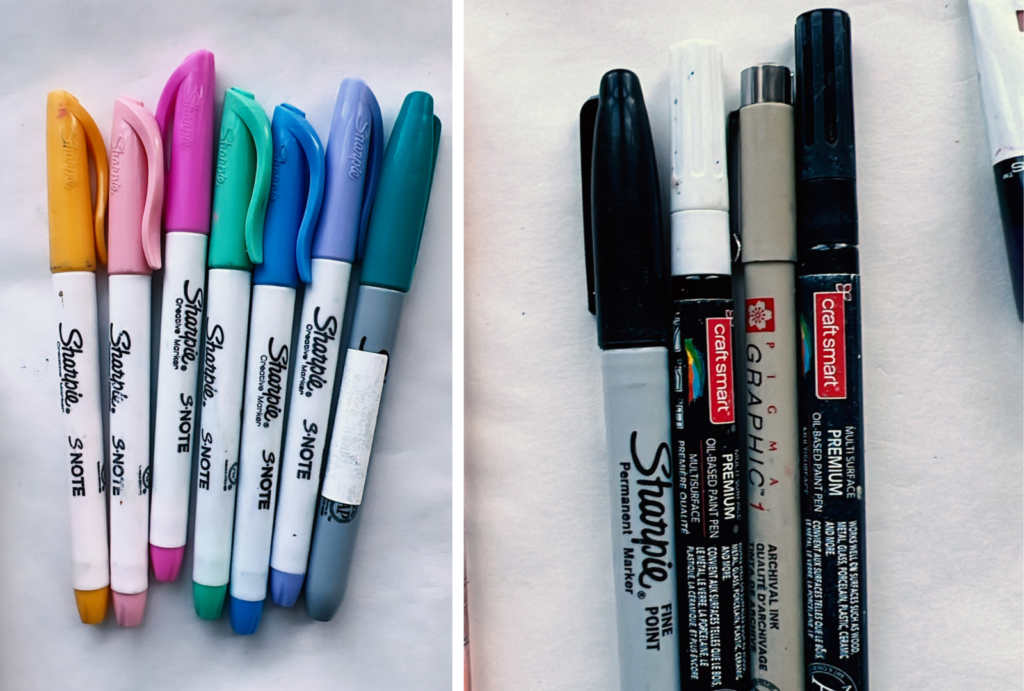
The pastel and neon colored Sharpie Snote markers almost have a highlighter look to them. I used these markers to add really vibrant highlights and shading to the tropical paintings I wanted to create. The black sharpie marker was used to outline my art, and to create my base layer sketch of what I wanted to draw. Additionally, I packed a black acrylic paint marker as well as a white acrylic paint marker.
Mini-Sized Watercolor Paints
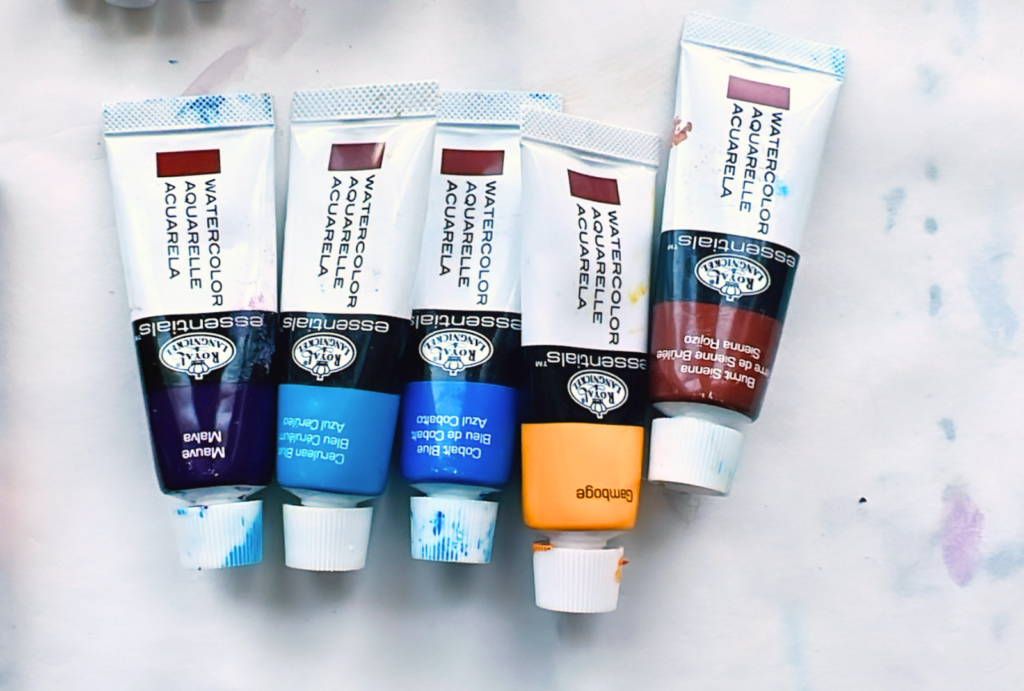
Typically I paint solely with Acrylic paints. However, I found that packing watercolor paints allow for a process that is far less messy. Having less mess gave me freedom to paint in the airport, on the boat, or even in tiki bar next to the ocean! I used the watercolor paints for when I needed a lot of color, and the paint markers just weren’t cutting it. You can find this mini set with a variety of colors here on amazon.
Assorted Paint Brushes
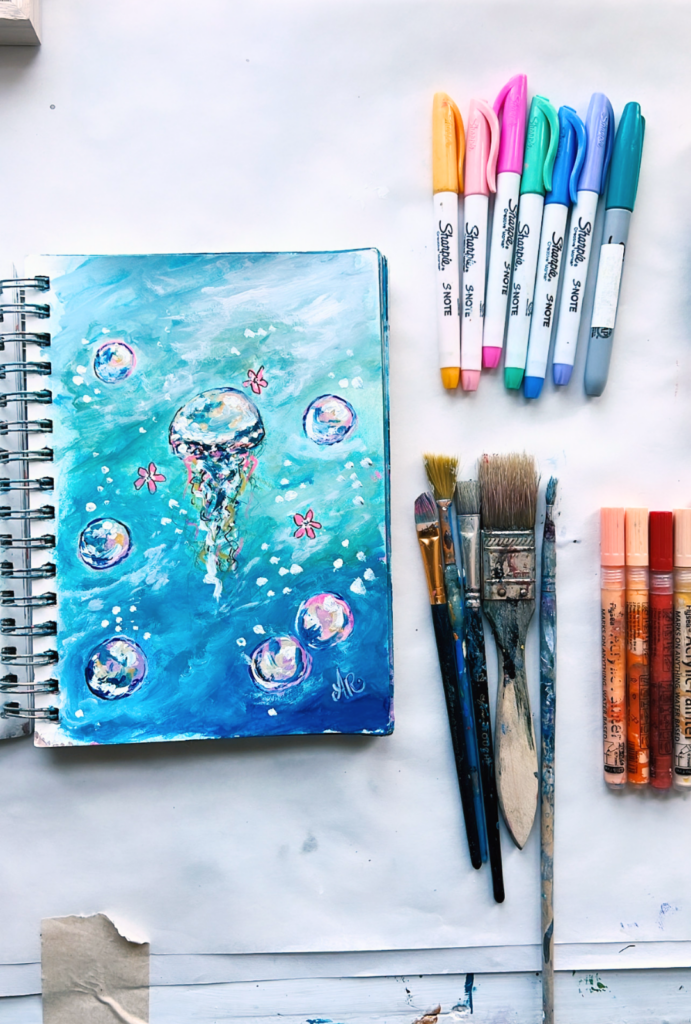
I packed only a few brushes, but didn’t find that to be an issue at all. I definitely know which ones end up being my go-to, so I stuck to my faves. My most often used brushes were:
- Oil Bristle brushes (or dry brushes) I love these for creating texture in my art, blending, and layering colors. I packed a few different sizes, but found I mostly stuck to the medium sized brush.
- Angled brush for line details and flower shapes
- Small, thin brushes for skinny lines. – I used these most often in my palm tree paintings
You can find a variety of the brushes I stick to on my amazon travel art supplies list.
Now that you’ve seen the go-to travel art supplies I recommend, let’s take a look at some of the art created, and how I used the listed supplies!
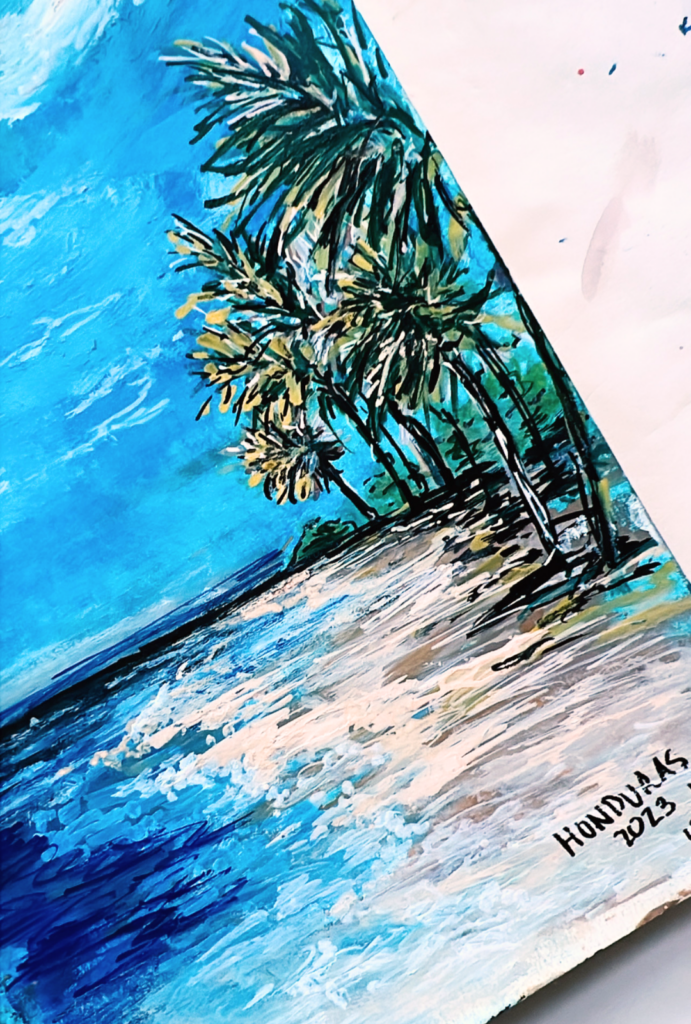
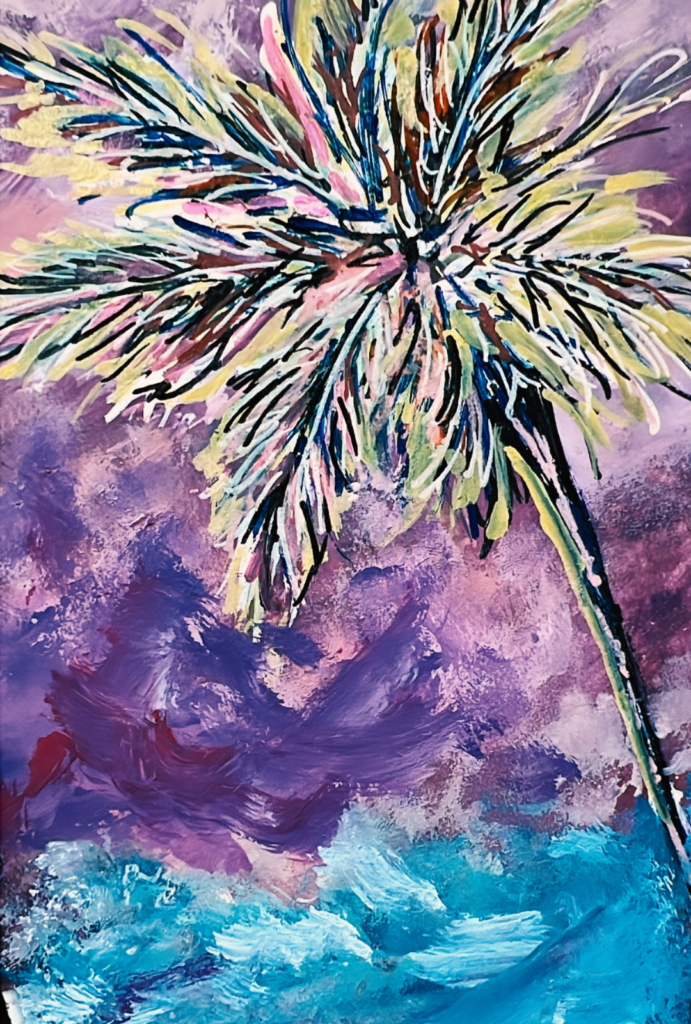
Colorful Palm Tree Paintings
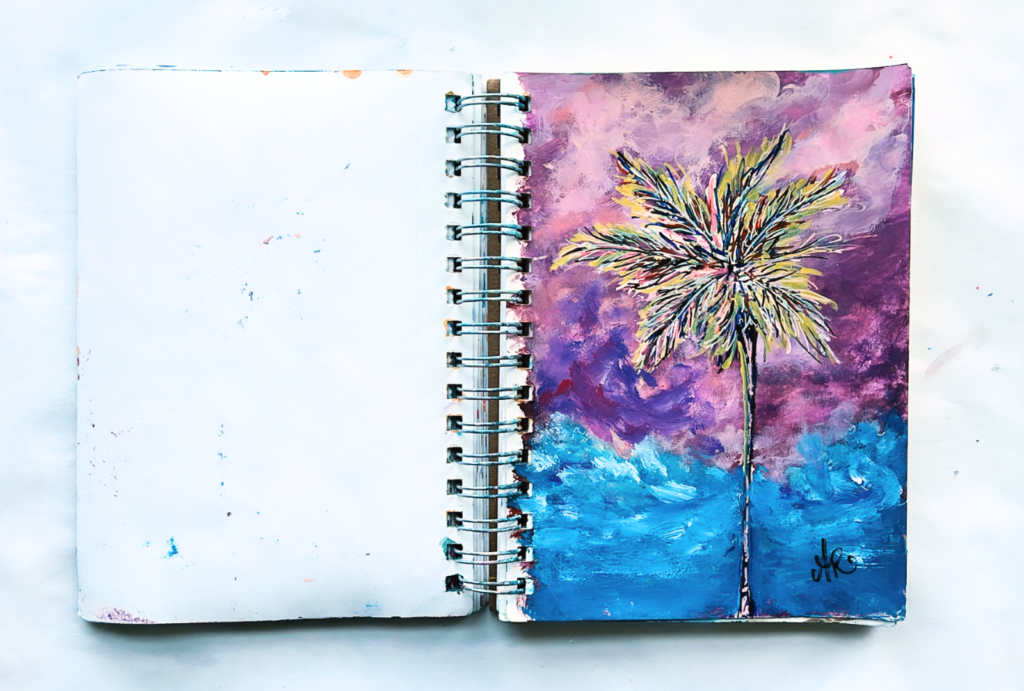
A combination of watercolor & paint from the acrylic paint markers was used for the background. After that dried, I went in and painted my palm tree outline with black marker. I then layered on colors using the acrylic paint markers
Colorful Jellyfish Painting
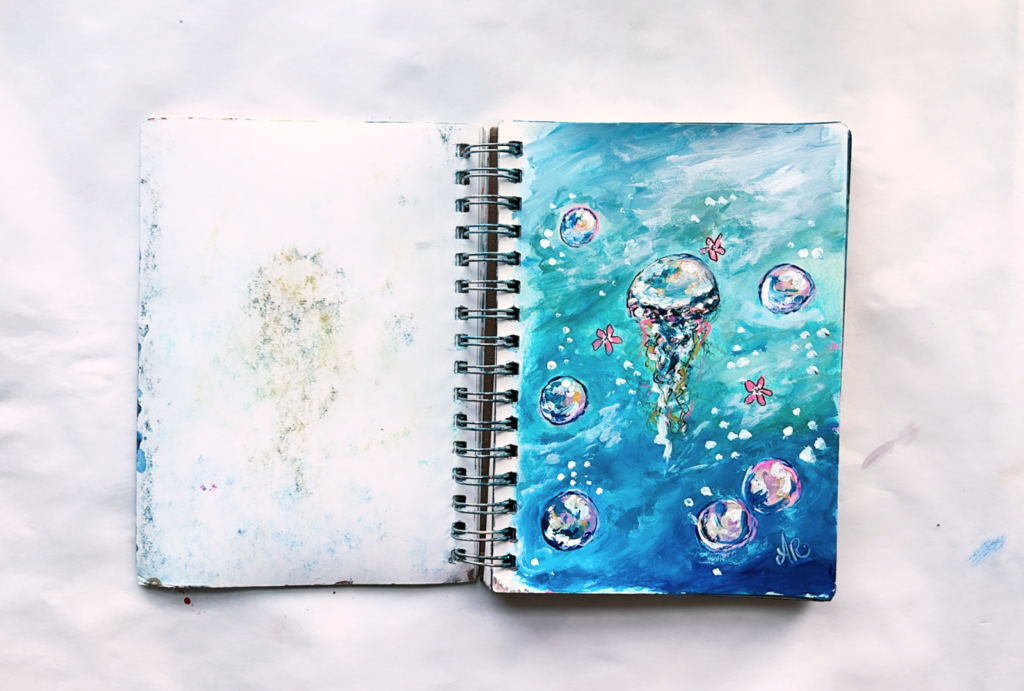
Snorkeling in Belize absolutely inspired me to paint these adorable jellyfish. [ read more about that on my part 1 of painting on vacation blogs ] For this jellyfish painting I used the blue and green watercolor paints, and the white, yellow, & purple acrylic paint markers. After I painted the background base color, I went in and drew my jellyfish using a black marker, and then added in my color details using the acrylic paint markers. I found that the pink Crafstmart paint marker was perfect for this. The tone was very bright and definitely stood out against the blue tones & other colors filling the painting.
Additionally, I used the Sharpie Snote markers to layer the bubbles and jelly fish with subtle neon tones that my paint markers didn’t have.
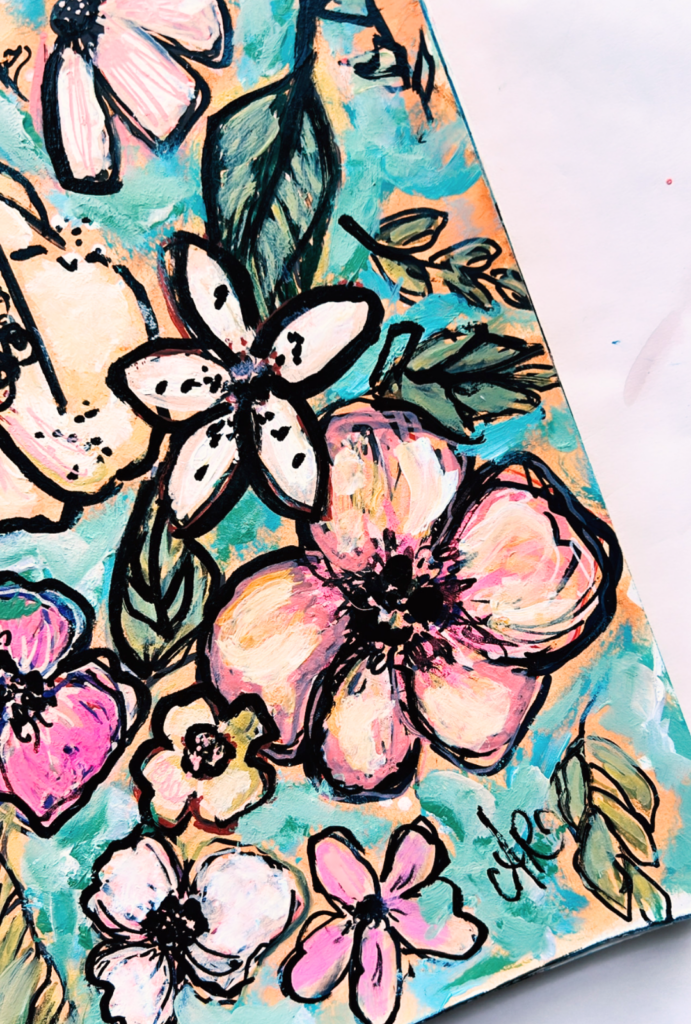
Colorful Tropical Flowers
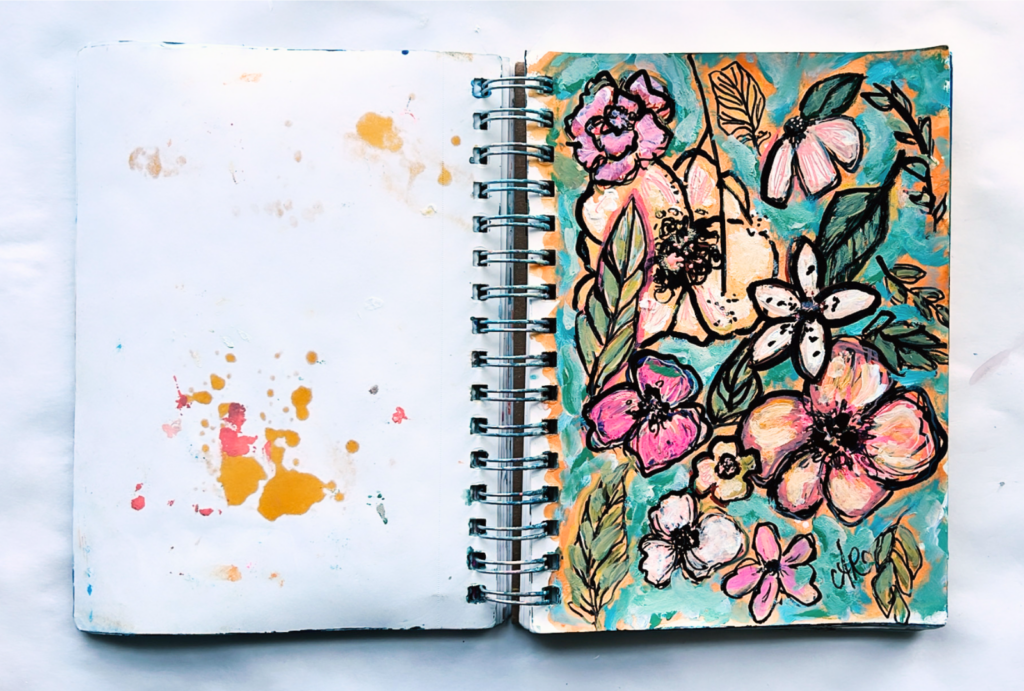
For this floral painting, I painted my orange background first. Secondly, I used the pink, orange, & yellow acrylic paint markers to create the flower shapes. Thirdly, I used the black paint marker to outline the flowers- adding in shapes & details. Once I was painting, I realized I didn’t pack a green watercolor paint, but also didn’t care for the tone of the green paint marker i packed. So I had to improvise. Next, I added in the leaves. For each of the floral leaf elements, I combined blue watercolor paint with yellow, orange, & white acrylic paint markers to get different shades of green. Lastly, I added thick brush strokes of teal around the flowers to make everything pop.
Tropical Views while laying out in the sun
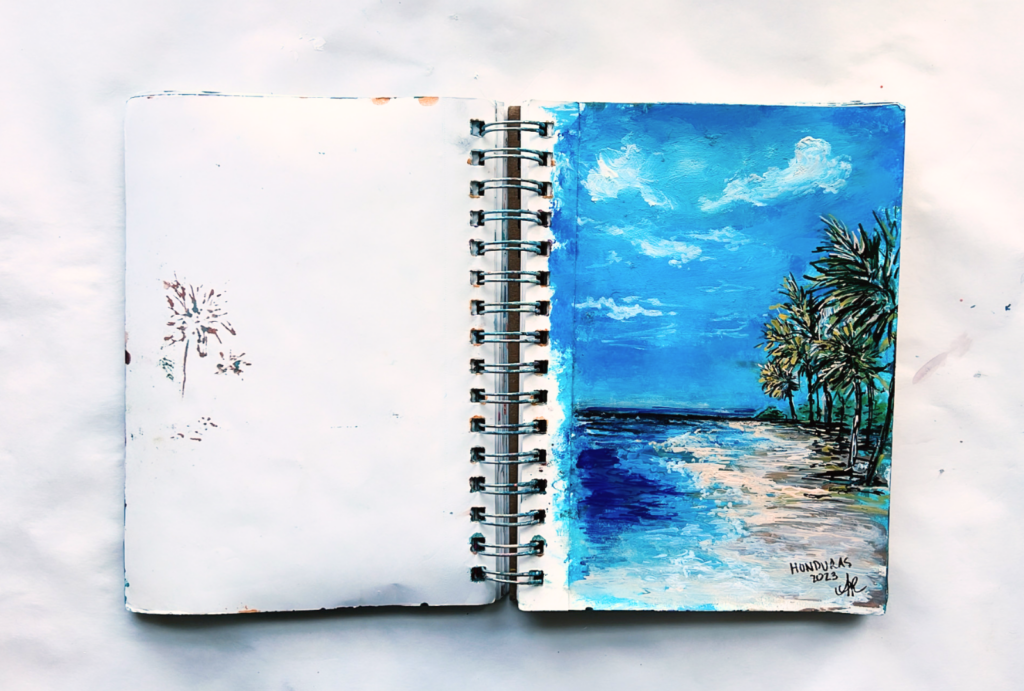
In this painting, I definitely had to use a decent amount of the blue watercolor paints to create my sky and beach. Firstly, To achieve the colors I wanted, I combined tones of blue and green, and then added in paint from the white paint markers. Following that, I then used the thick side of my acrylic paint markers to paint in the sand. Lastly, I finalized everything with drawing palm trees with a skinny black marker, and layering colors using thin paint markers.
I hope this article will inspire you to create a bag filled with travel art supplies. Because you never know when creativity will present itself, and painting on the go is way more accessible than ya think!
If you find yourself feeling creative, be sure to comment below or even tag me in your masterpiece on Instagram – I would love to see it!
Thanks for reading, and of course, remember to stop and look at the sky!
Sincerely, your artsy friend that is rooting for you,


Arastasia Rolain – Traveling Mural Artist, Art Educator, & Creative Entrepreneur